Outgoing Webhooks
Introduction
This guide walks you through setting up outgoing webhooks to send accessibility event data to external services like Zapier or your own custom endpoints. It’s a straightforward way to connect your accessibility data with the tools and workflows you already rely on.
Webhooks let you receive real-time notifications when accessibility events happen in your application. You can choose which events trigger a webhook and set the URL where the data should be sent.
Step-by-Step Configuration
Webhook Setting in the Workspace
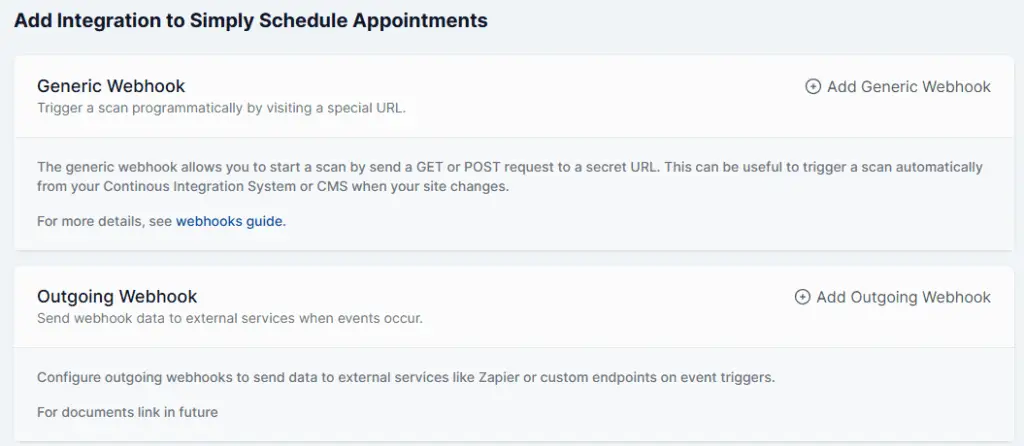
On your website dashboard from your AAArdvark Workspace, click on Integration to view the available integration options. From here, you’ll see Outgoing Webhooks listed as one of the integration choices.
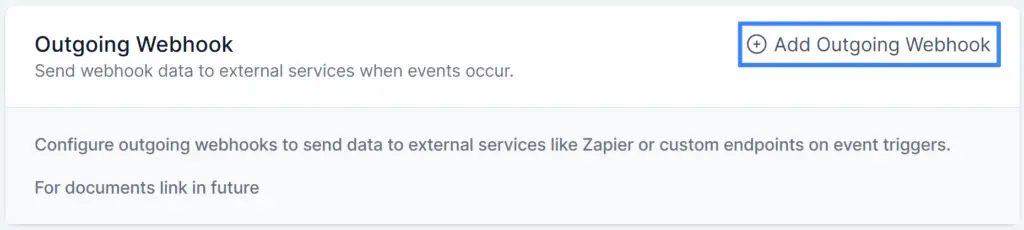
Click on Add Outgoing Integration to begin setting up the webhook.
Webhook URL Setup
To configure the Webhook URL, enter your complete webhook URL in the Webhook URL field.
- Must include the full URL, including https://
- Example: https://your-service.com/webhook
Once done, click Test Connection to verify your endpoint is reachable. You should receive a webhook with a selected issue created event, and a success message with status 200.

In case of any error, a message will be displayed explaining the issue.

Webhook Secret Management
The Webhook Secret will be displayed under the Webhook URL option. From here, you can take the following actions.
- Copy the secret: Click the clipboard icon to copy the secret to your clipboard.
- Regenerate if needed: Click the Regenerate Secret button to create a new secret.
- After regenerating, you must update your webhook endpoint to use the new secret

Important Note
- Use this secret to verify webhook authenticity in your endpoint.
- For new integrations, the secret is automatically generated.
- After regenerating, save the integration before the new secret takes effect.
Event Selection
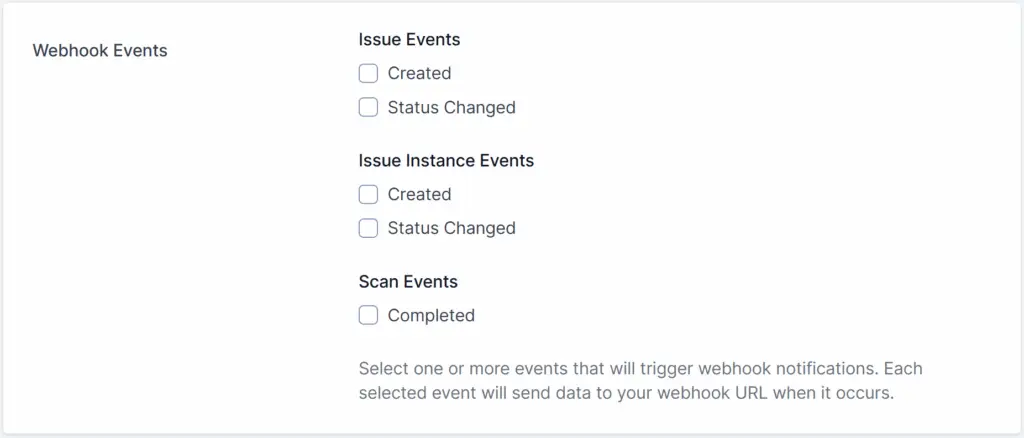
You can choose which events will trigger webhook notifications. Browse through the available event categories and check the boxes for the events you want to track. You can select multiple events across different categories.
Data will be sent to your webhook URL in real time whenever a selected event occurs.
Understanding Event Types
- Issue Events:
- Created: When a new issue is created, a webhook notification will be sent.
- Status Changed: A webhook notification will be sent whenever the status of an issue is changed.
- Issue Instance Events:
- Instance Created: When a new issue instance is created, a webhook notification will be sent.
- Instance Status Changed: A webhook notification will be sent whenever the status of an issue instance is changed.
- Scan Events:
- Upon the completion of a scan, a webhook will be sent containing a summary of statistics related to the scan.
Best Practices
Security
- Always verify webhook authenticity using the provided secret
- Use HTTPS endpoints only
- Keep your webhook secret and confidential
Testing
- Always use the Test Connection button before saving.
- Monitor your webhook endpoint for successful receipt of test data.
- Check error messages if the connection test fails
Next Steps
After configuring your webhook:
- Save the integration to activate the webhook
- Test with real events to ensure data is flowing correctly
- Monitor your endpoint for performance and reliability
- Adjust event selection as needed based on your requirements
Your webhook should be ready to send accessibility event notifications to your specified endpoint.
Difference between Outgoing vs Generic Webhooks
Within AAArdvark, you’ll find two distinct webhook options. Here’s a quick overview to help you understand how they differ:
Generic Webhooks let you trigger scans or actions programmatically by sending a GET or POST request to a secret URL. This is useful for automating scans from systems like Continuous Integration (CI) pipelines or CMS platforms when your site changes.
- Direction: Uni-directional, data is sent into the platform only, without expecting a response.
- Set up: Configured in the app’s settings, generating a unique secret URL that external systems call to start scans or actions.
- Security: Access controlled via secret URLs or tokens to prevent unauthorized triggering.
Outgoing Webhooks send data from the platform to external services when specific events occur. You configure trigger keywords or events that cause the app to send information to external URLs, and the app can display responses back to users.
- Direction: Bi-directional, a message is sent out, and a response is received and displayed within the platform.
- Set up: Set up in the app by defining trigger words or event types linked to external endpoints.
- Security: Requests are signed or authenticated to ensure they originate from the platform and protect against tampering.