Generic Webhooks
Introduction
AAArdvark Generic Webhooks lets you automate accessibility scans by triggering them through third-party services or during your deployment process. By sending a GET or POST request to a secure Webhook URL, you can seamlessly integrate AAArdvark into your workflows.
For instance, you can set your deployment script to call the webhook URL immediately after deploying a new version of your site. This ensures your website is automatically checked for accessibility issues right away.
Configuring AAArdvark Webhooks
1. Integrations Page
To start configuring a webhook:
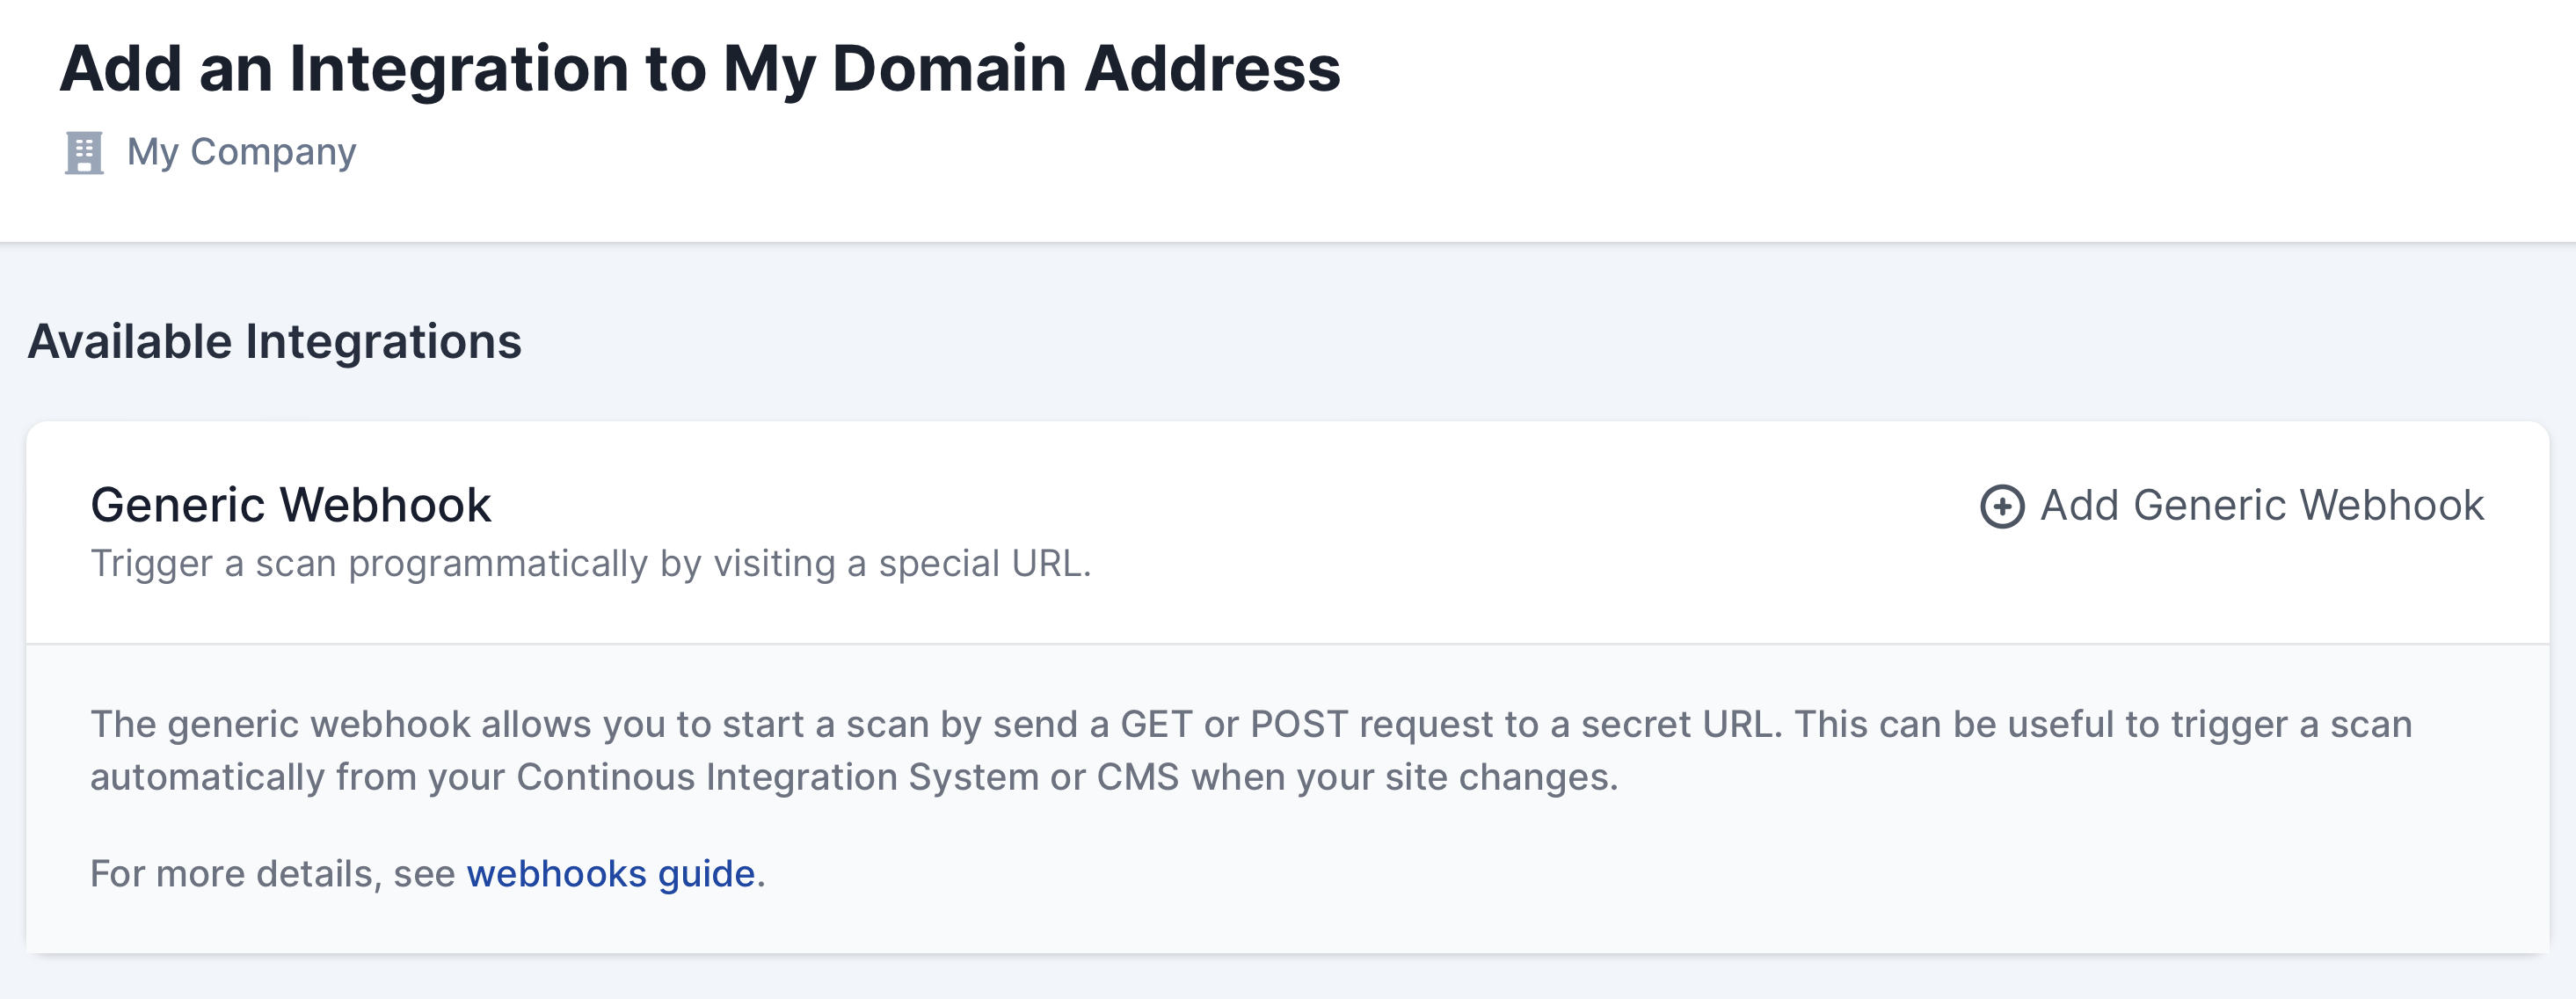
- From your site’s dashboard, navigate to the Integrations page.
- Click Add Integration, then choose Add Generic Webhook.
2. Generic Webhook Settings
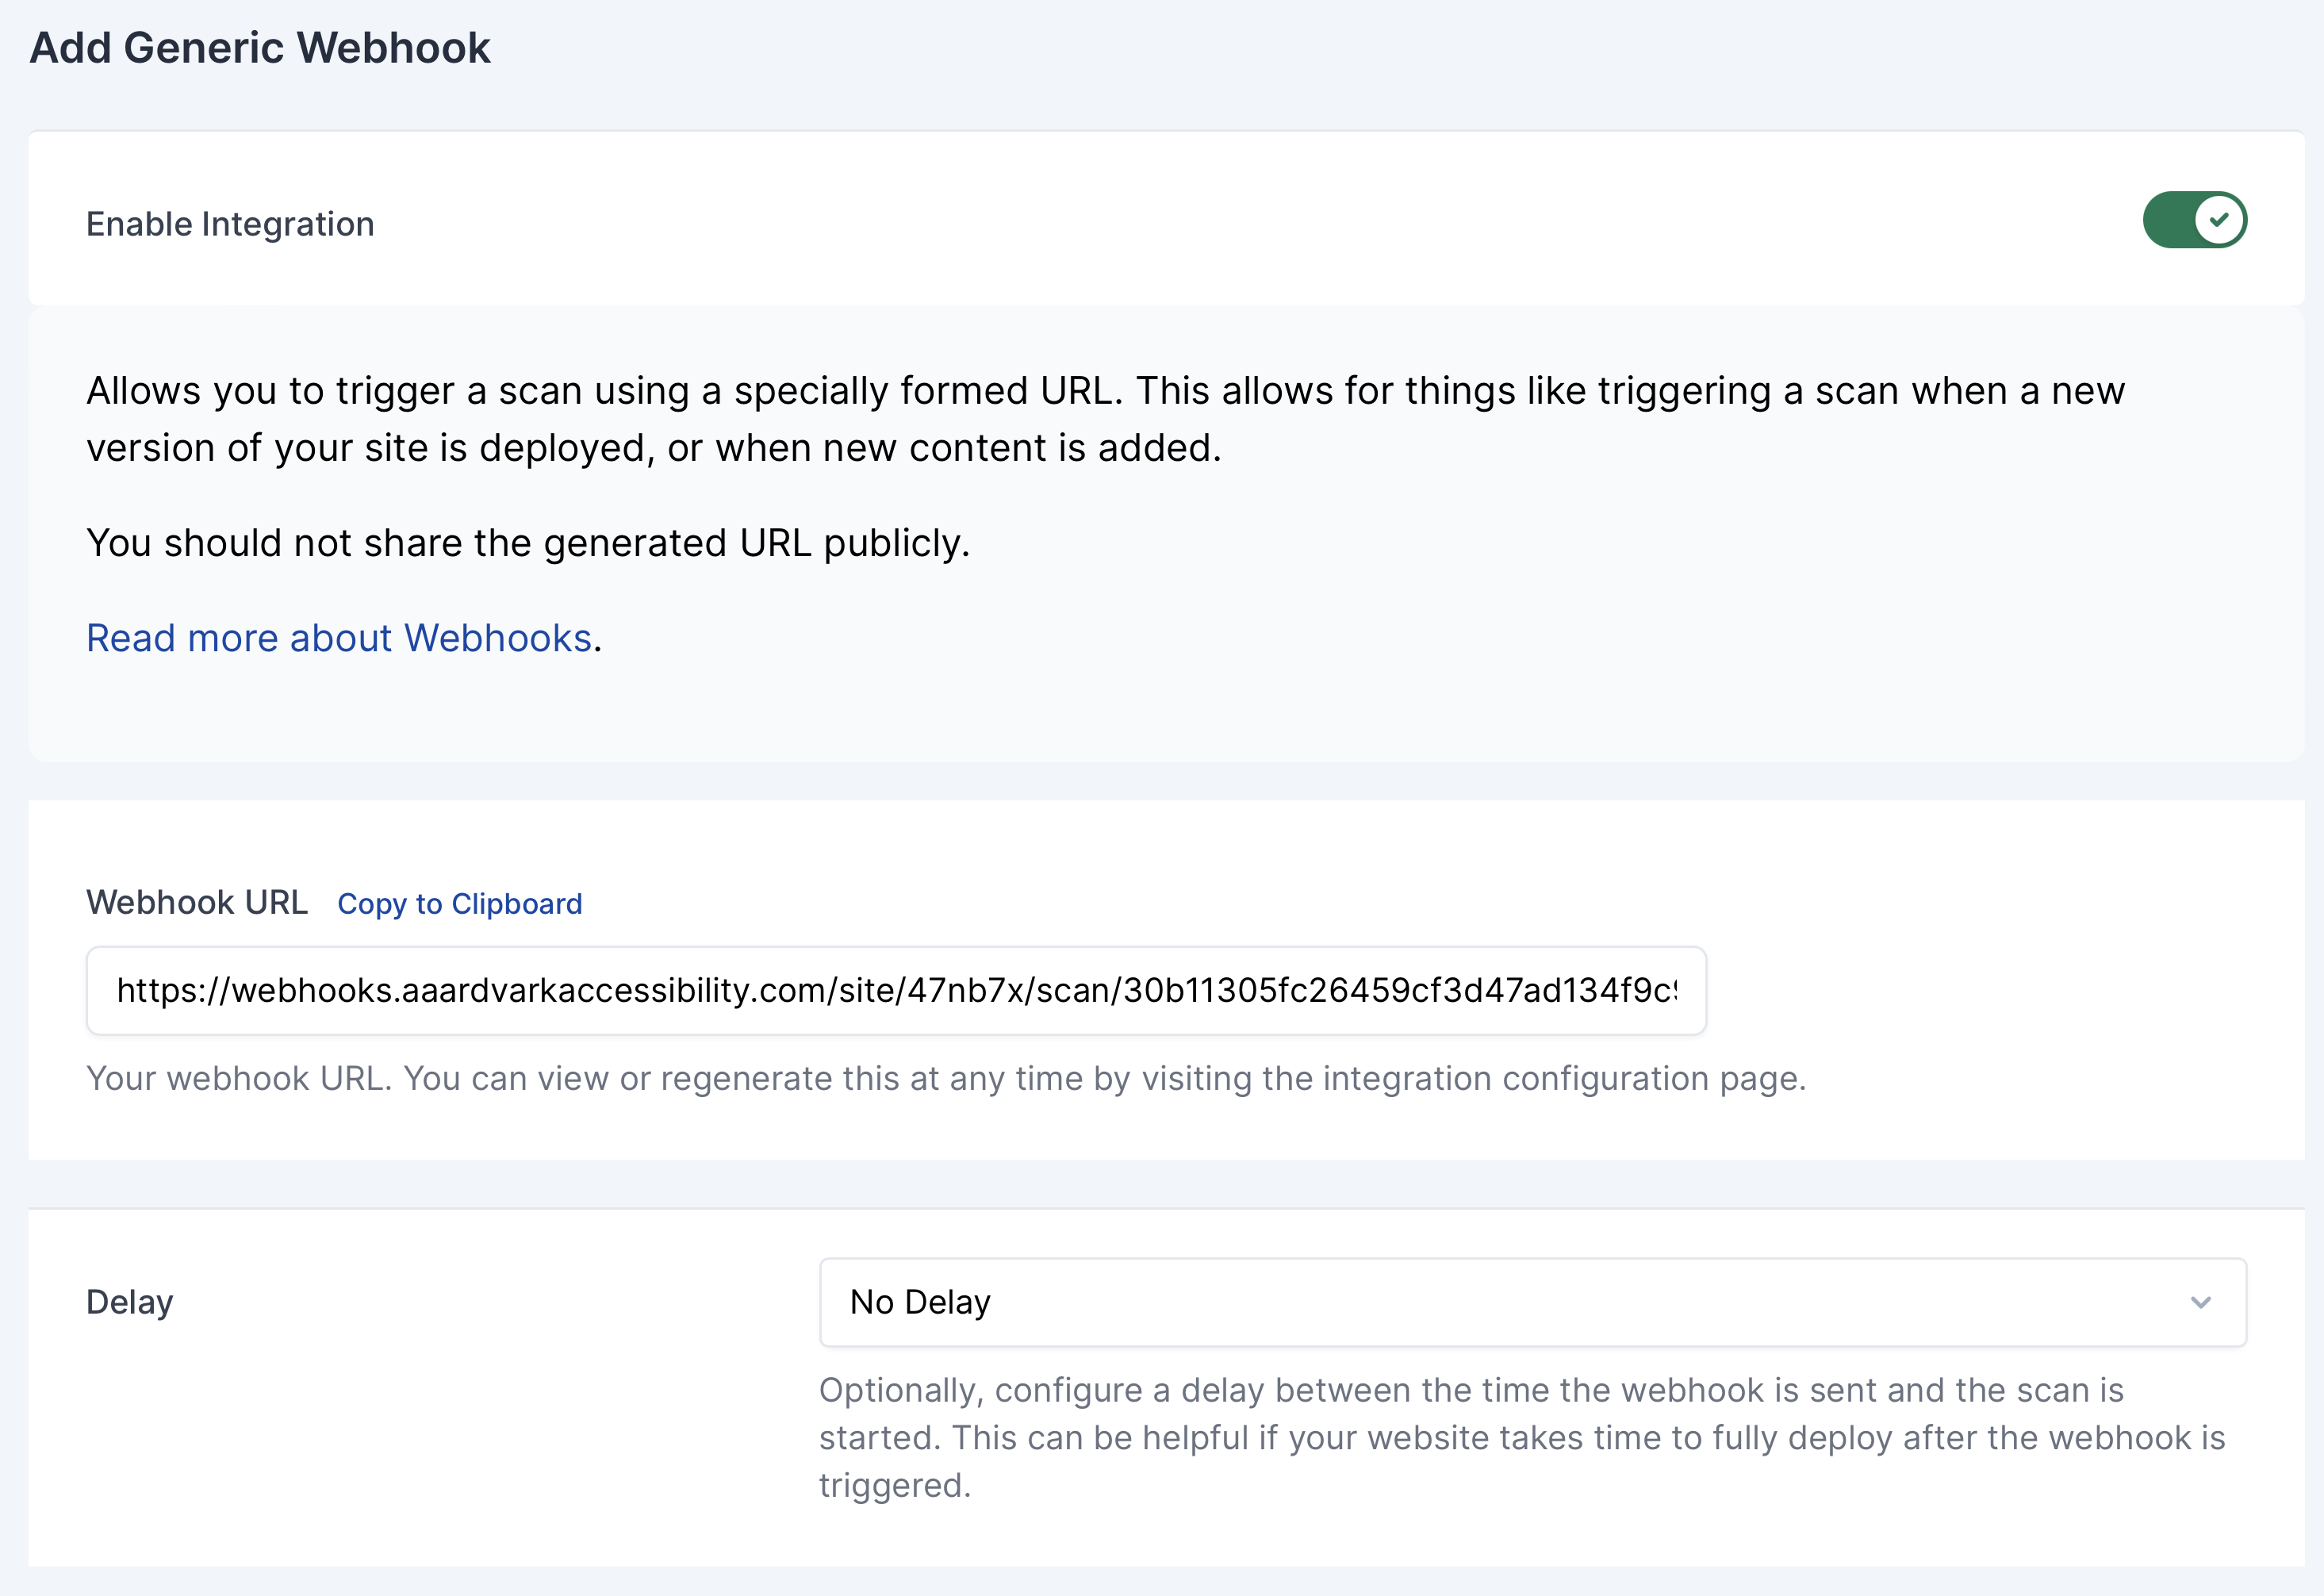
Set a Delay if your website needs extra time to fully deploy after the webhook is triggered. Choose the preferred delay option from the dropdown menu.
Pro Tip: This feature is especially useful for complex sites with longer deployment times.
Copy the Webhook URL and save it securely – you’ll need this to connect AAArdvark to your third-party service or script. Once copied, click Add to finalize the webhook setup.
Using the AAArdvark Generic Webhook
Once your webhook is configured, you can integrate it with your third-party service or deployment script. A scan will automatically begin whenever a POST or GET request is sent to the webhook URL.
Important:
- If a scan is already running, new webhook requests will be ignored.
- Webhooks are throttled to one request every five minutes. Any additional requests during this period will not trigger a scan.
Editing the Generic Webhook
To view or edit your Webhook URL:
- Open the Configuration page for the integration.
- Here, you can:
- Regenerate Secret: Create a new Webhook URL. Note that regenerating the secret will invalidate the old URL, so you’ll need to update any services using the webhook.
- Remove Webhook: Permanently delete the webhook. A new unique URL will be generated if the webhook is re-added later.
- Disabled Webhook: Temporarily turn off the webhook by toggling Enable Integration and clicking Update. When re-enabled, the original URL will still work.