Fix and Manage Issues
Introduction
Once you’ve spotted what needs fixing, it’s time to take action. This guide covers how to assign issues, mark them as fixed, manage review workflows, and track your team’s progress.
Before you dive in here, learn basic concepts on how to understand and view issues.
Managing Issues
Managing issues means keeping track of what needs fixing, who’s handling it, and what’s already been resolved. You can assign issues to teammates, update their status, leave comments, and mark individual instances as fixed, confirmed, or dismissed. This helps your team stay organized and make steady progress.
Issue Status
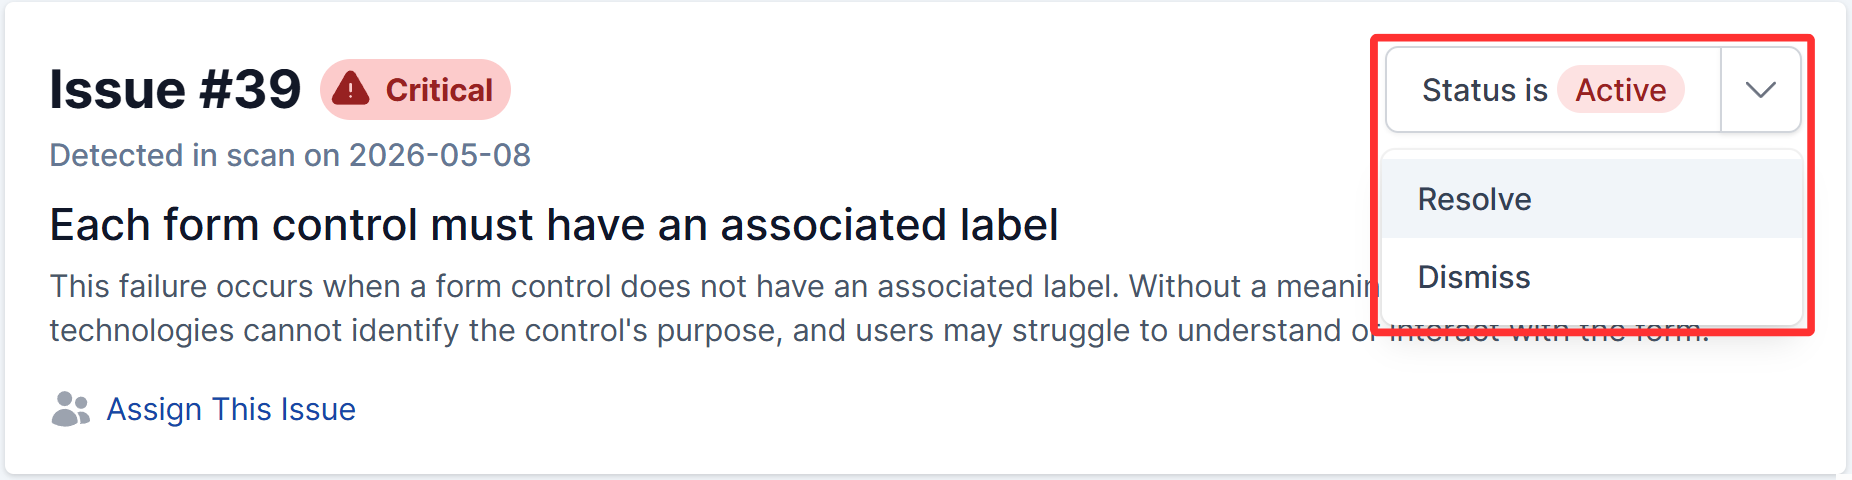
The current status is visible in the top right and is one of Active, Resolved (pending scan or review), Resolved, or Dismissed. Clicking the status will display a drop-down to update the issue status.
- Active: At least one instance of the issue was seen in the most recent scan and is not ignored.
- Resolved (pending scan or review): A user has resolved the issue, but it is pending confirmation on the next scan or manual review.
- Resolved: The most recent scan saw zero instances of the issue.
- Dismissed: The issue has been flagged to be ignored, and will not be set to Active if instances are seen in a scan.
- Delete: If the issue was manually recorded by a user, the issue can be deleted by an Administrator, Project Manager, or Accessibility Tester.
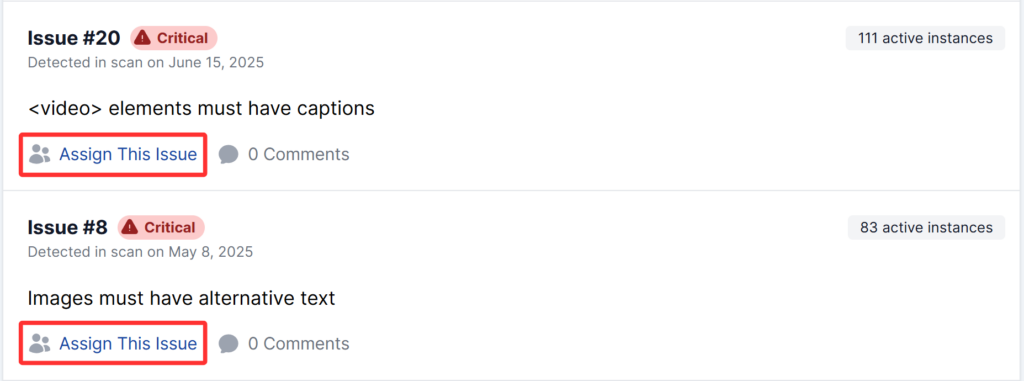
Assigning Issues
You can assign issues to users either directly from the Issues list or from the detail view using the Assign This Issue button.
When you click the button, you’ll see a list of users, grouped by roles added in your workspace, who can be assigned to the issue.
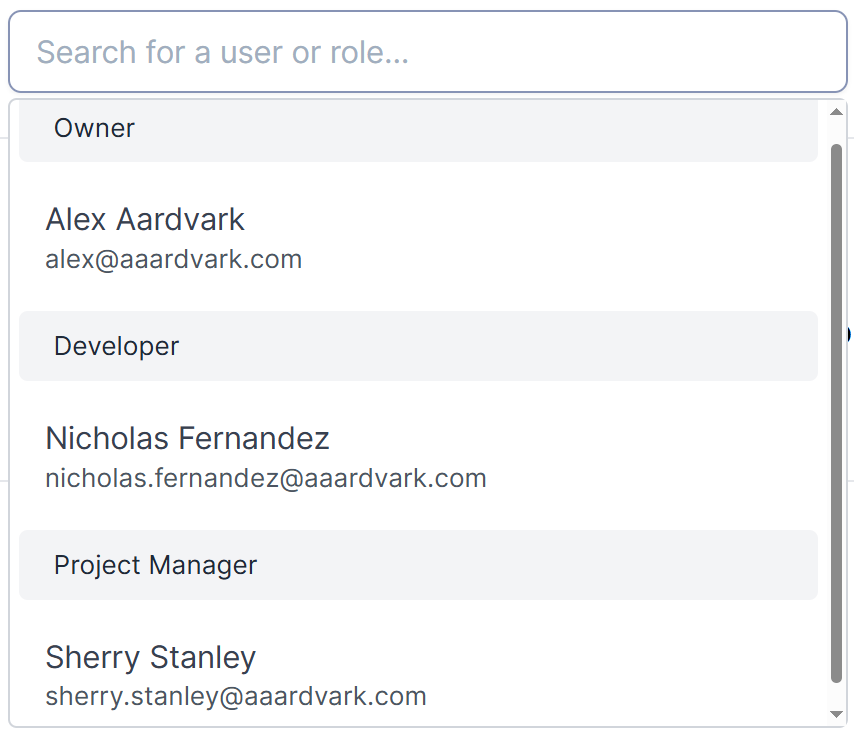
To remove an assigned user from the issue, click the Assign This Issue button and select Unassign.
Commenting on Issues or Instances
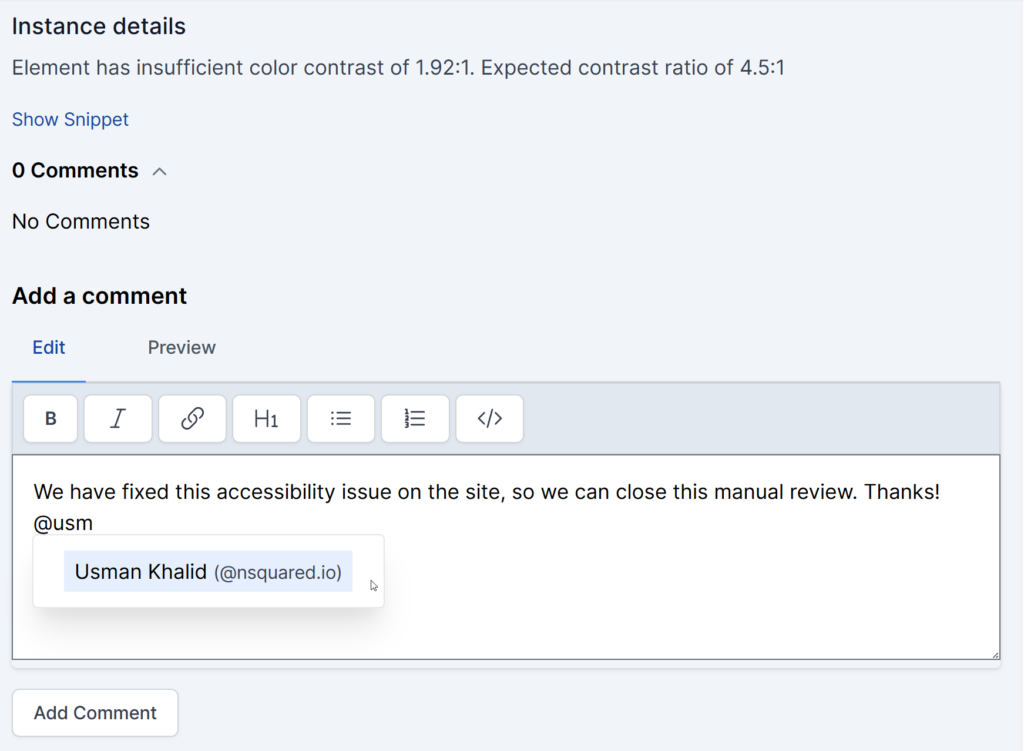
Collaborate with your team by adding comments to issues or instances.
- Click the Comments tab in the issue detail view.
- Type your comment and use @mentions to tag team members. Only members of the relevant team can be tagged in comments.
The team member who is tagged will receive a notification and email if it’s enabled for them.
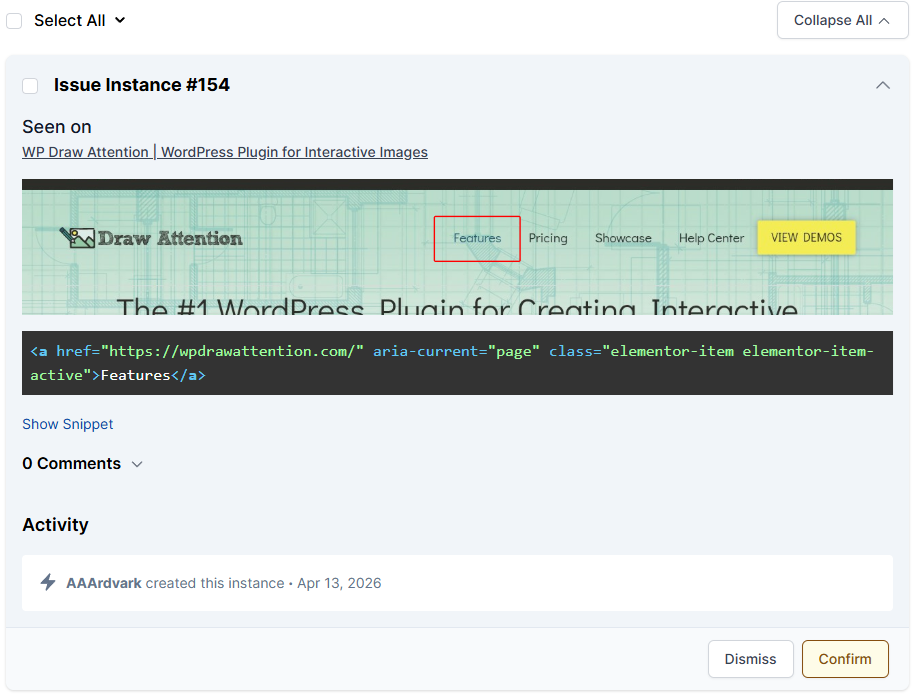
Instance Statuses Explained
An issue is a single accessibility problem (for example, “Image missing alt attribute”). An instance is one specific place that problem shows up. A single issue can have many instances across your site, and each instance moves through its own status as you work on it.
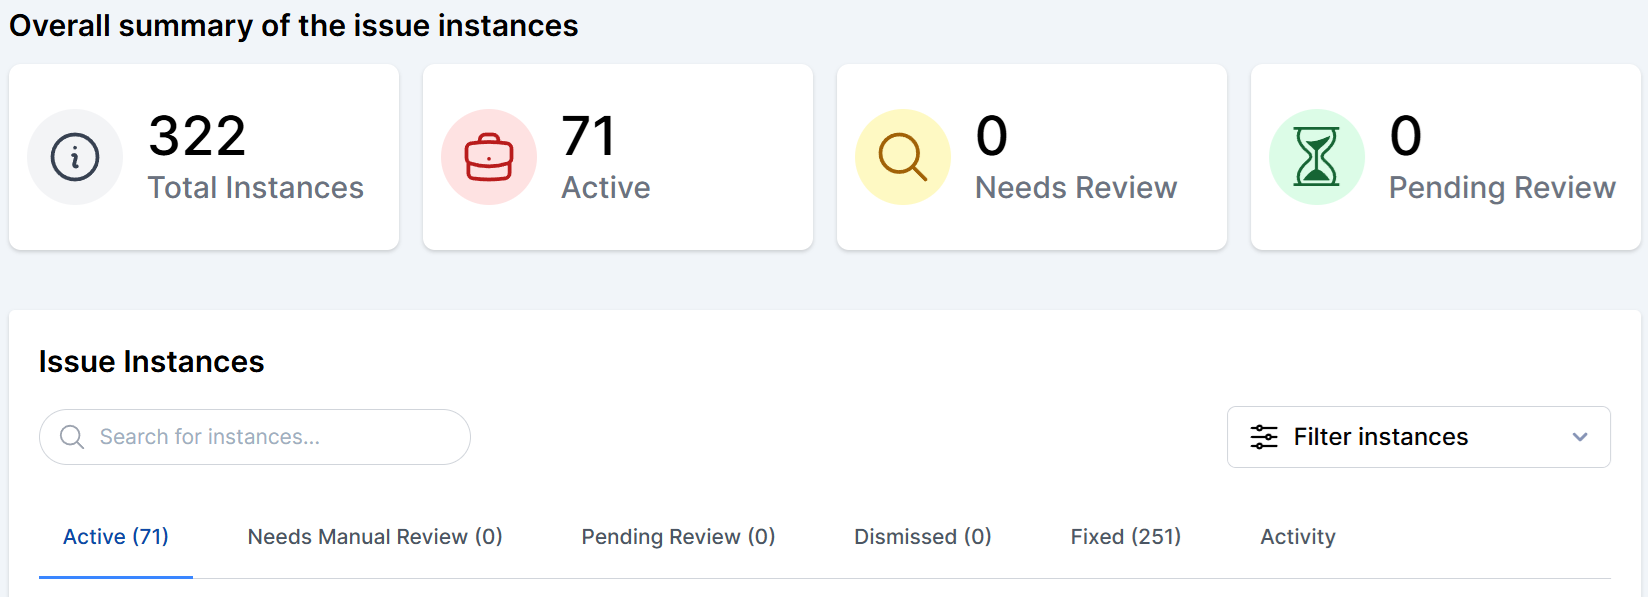
On the issue detail page, instances are grouped into tabs by status: Active, Needs Manual Review, Pending Review, Dismissed, and Fixed. The status of each instance is also shown as a colored tag on the instance card. Here’s what each status means and when an instance gets it.
Active
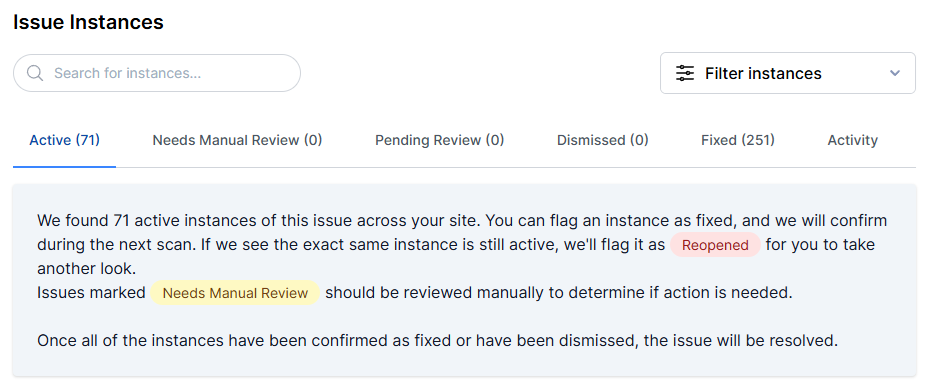
The instance was found in the most recent scan and still needs attention. New instances start here, and this is where you’ll do most of your fixing work. Active instances can be marked as fixed, dismissed, or assigned to a teammate.
Reopened
The instance was previously marked as fixed, but a later scan found the exact same problem still on the page. AAArdvark labels it Reopened (shown as a red tag) so you know to take another look. Reopened instances appear under the Active tab, since they once again need attention.

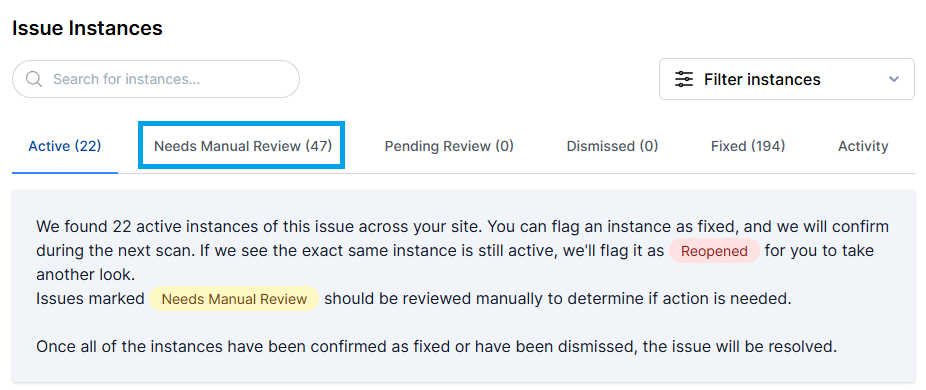
Needs Manual Review
Some instances can’t be judged automatically. Text placed over a background image, overlapping elements, and other ambiguous cases all need a human to make the call. The scanner flags these as Needs Manual Review and holds them on their own tab until someone reviews them.
A manual review confirms whether this is a real issue that needs fixing. It does not mean the issue is fixed. When you review one of these instances you have two choices:
- Confirm: Yes, this is a real accessibility problem. Confirming it moves the instance into your Active issues so it can be assigned and fixed like any other instance. (Confirming does not mark it as fixed.)
- Dismiss: No, this isn’t a problem (for example, a false positive, or text whose contrast is actually fine). Dismissing it removes the instance from your active list, and it won’t be flagged again in future scans.
Unlike automatically detected instances, the scanner can’t re-verify these on the next scan, so Mark as Fixed isn’t offered here. Use Confirm or Dismiss instead.
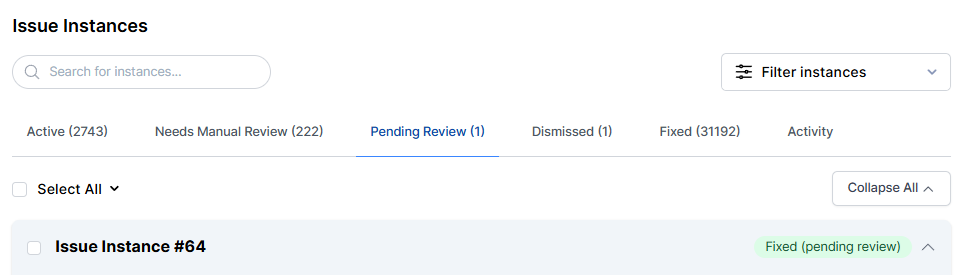
Fixed (pending review)
When you mark an instance as fixed, it doesn’t jump straight to Fixed. It first moves to Fixed (pending review) and waits under the Pending Review tab. This is AAArdvark’s way of saying “you’ve told us this is handled, and we’ll verify it.” For automatically detected instances, the next scan confirms the fix. For manual instances, an accessibility tester or administrator confirms it.
Fixed / Resolved
Once a scan or a manual review confirms the fix, the instance moves to Fixed and appears under the Fixed tab. When every instance of an issue is either Fixed or Dismissed, the whole issue is automatically marked Resolved.

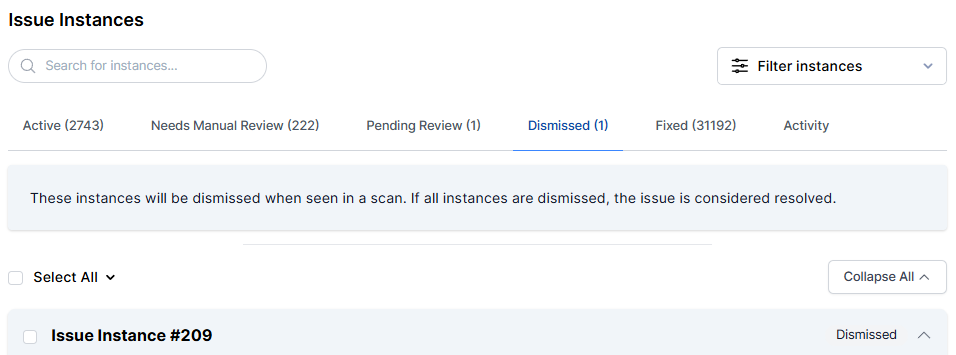
Dismissed (Ignored / Not an Issue)
The instance was flagged as something you don’t need to act on, such as a false positive. Dismissed instances are removed from your active list and won’t be flagged again in future scans. They sit under the Dismissed tab in case you need to review them later. When all instances of an issue are Dismissed (or Fixed), the issue is considered Resolved.
Only users with the Administrator or Accessibility Tester role can dismiss instances. Users with the Developer role can assign and comment on issues, but cannot dismiss them. See team permissions for a full role comparison.
Remediating or Fixing Issues and Instances
Fixing an issue instance means addressing the specific place where the problem appears, like adding alt text to an image or updating a link label.
Once fixed, you can mark the instance as Fixed in AAArdvark. The system will confirm it’s resolved in the next scan if it was found through automated scanning. Or, it will send a notification to an accessibility tester or administrator to verify manual issues.
If all instances of an issue are fixed or marked as Dismissed, the whole issue is marked Resolved.
Resolving Overall Issues
You can set the status of an entire issue to fixed by choosing Resolve in the status drop-down on the top right of the issue page.
If any instances of these issues are seen in a subsequent scan, the issue will be reopened for you to take another look.
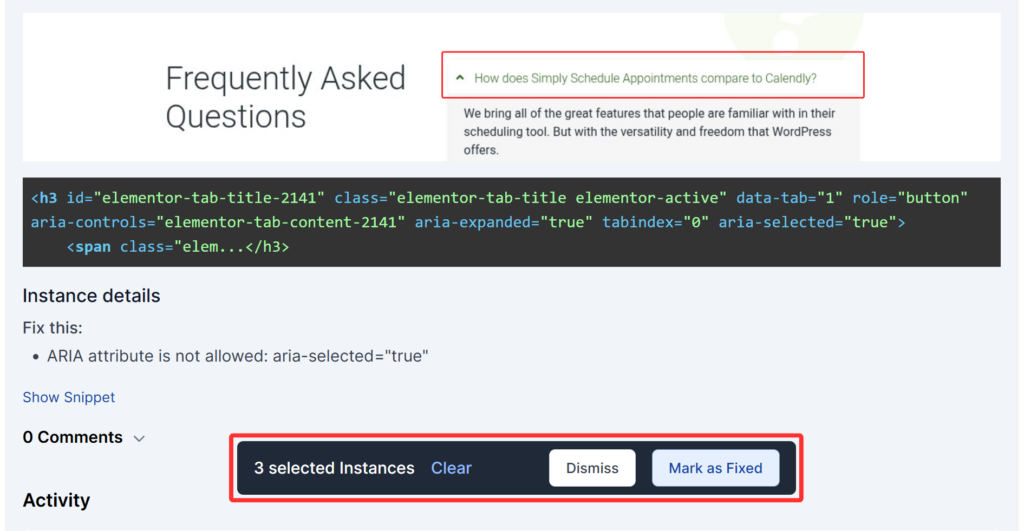
Marking Instances as Fixed
Once you have resolved an instance, you can click the Mark as Fixed button to mark it as fixed. The fix will be confirmed during the next site scan or through manual review.
If an instance marked as fixed is found in a subsequent scan, it will be labeled as Reopened so you can take another look. When all instances are confirmed Fixed or marked as Dismiss, the issue will be automatically set as resolved.
Needs Manual Review: Confirm or Dismiss
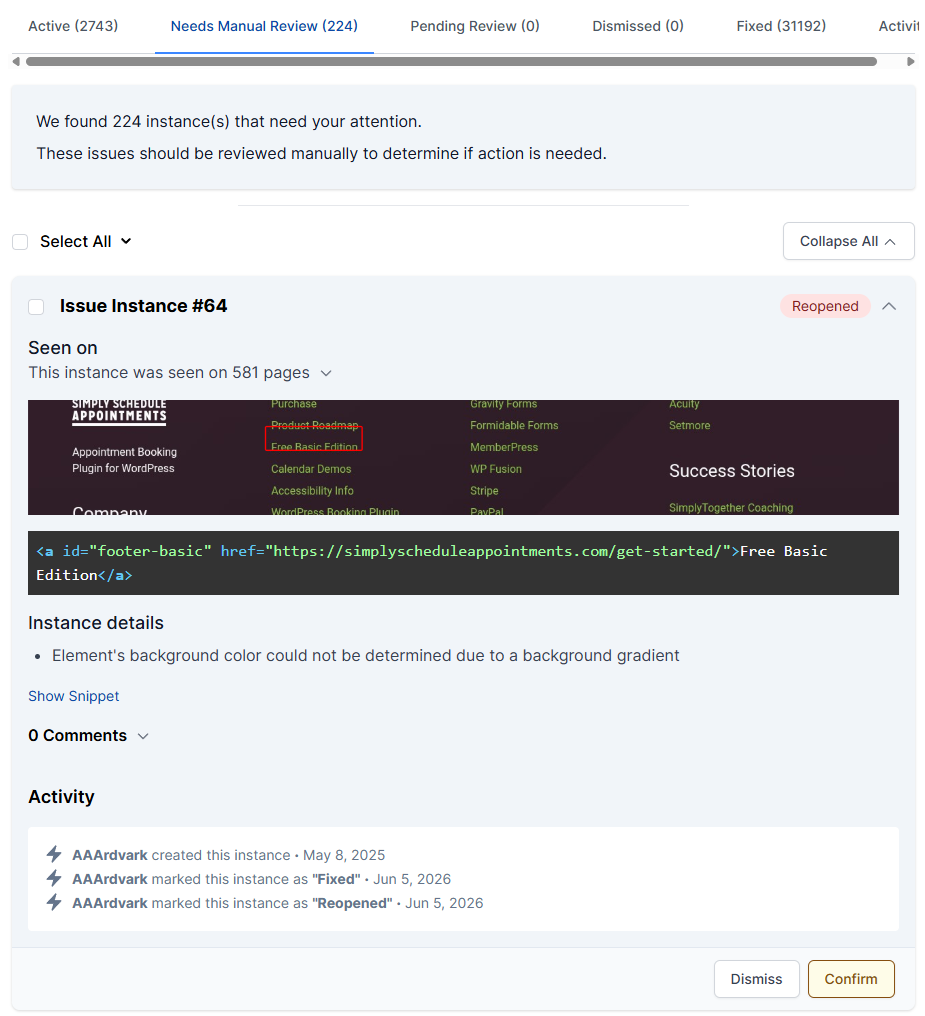
Some instances can’t be judged automatically. Text placed over a background image, overlapping elements, and other ambiguous cases all need a human to make the call. The scanner flags these as Needs Manual Review, and they wait under the Needs Manual Review tab until someone reviews them.
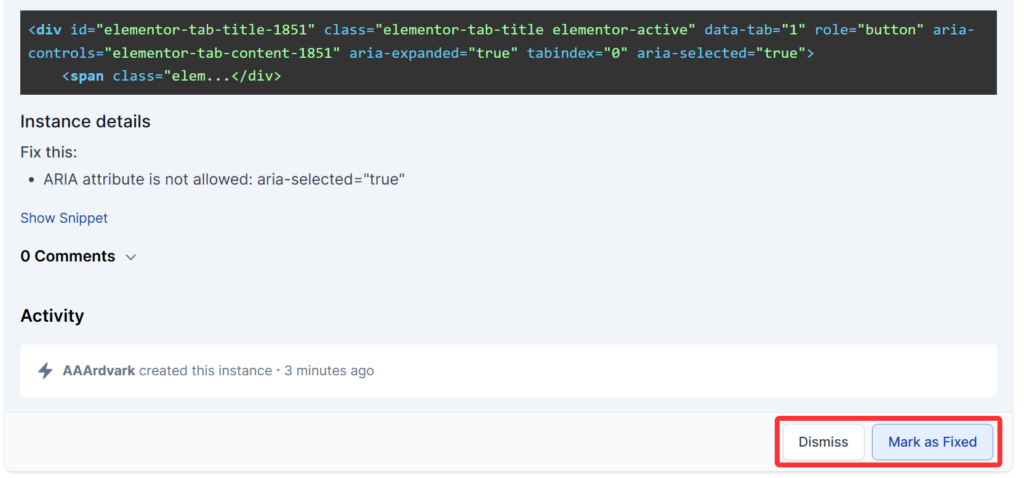
Open the instance and read the Instance Details to see why it was flagged. Then choose one of two actions:
- Confirm: The instance is a real accessibility problem. Confirming it moves the instance into your Active issues so it can be assigned and fixed like any other.
- Dismiss: The instance isn’t a problem (for example, a false positive, or text whose contrast is actually fine). Dismissing it removes the instance from your active list, and it won’t be flagged again in future scans.
Unlike automatically detected instances, the scanner can’t re-verify these on the next scan, so Mark as Fixed isn’t offered here. Use Confirm or Dismiss instead. To work through them quickly, you can select several instances with their checkboxes (or Select All) and Confirm or Dismiss them in one action.
Only users with the Administrator or Accessibility Tester role can mark instances as Not an Issue. Users with the Developer role can assign and comment on issues, but cannot dismiss them. See team permissions for a full role comparison.
False Positives and Warnings
Automated scans aren’t perfect and may flag ambiguous situations as issues or warnings. Warnings often need a human review to confirm if they’re real problems.
If you determine that a warning or issue is not actually a problem, mark it as Not an Issue to remove it from the active list and keep your dashboard clean.
Color contrast is a common source of false positives. To reduce the number of contrast issues that require manual review, enable the AI Color Contrast Checker under Experimental Features in your site settings.
Multi-Select Instances
You also have the option to multi-select instances and mark them as Fixed or Not an Issue.