Team Settings
Introduction
Each Workspace has a single Owner, but you can add as many Users as needed. Users are assigned roles to manage their permissions, and once added, they must be assigned to a Team to access specific websites.
Teams in AAArdvark help you control which users can access specific sites within your Workspace.
For example, agencies can grant clients access to their own sites while keeping other sites private. Teams are also ideal for organizing multiple development groups, ensuring they only see the sites they manage.
To manage teams and users, click your name in the top-right corner of the AAArdvark interface > click Manage Workspace > and click the Team menu item.
Once the team option is open, use this page to:
- Add new Teams.
- Manage existing Teams.
- Add new users
- Manage existing users
Note: If no team members have been invited to the Workspace yet, the Teams menu will not appear.
What are Teams?
Teams links Users to specific Sites. Only users in a Team can view the sites assigned to that Team.
Example: An Agency Granting Client Access to Their Sites
- Create a Team: Name it something descriptive, like “XYZ Client”.
- Add Users to the Team: If they’re not already in the Workspace, invite them via Workspace Settings
- Assign Sites to the Team: Add the client’s sites to the Team.
Result: Clients will only see the sites assigned to their Team, ensuring secure and organized access.
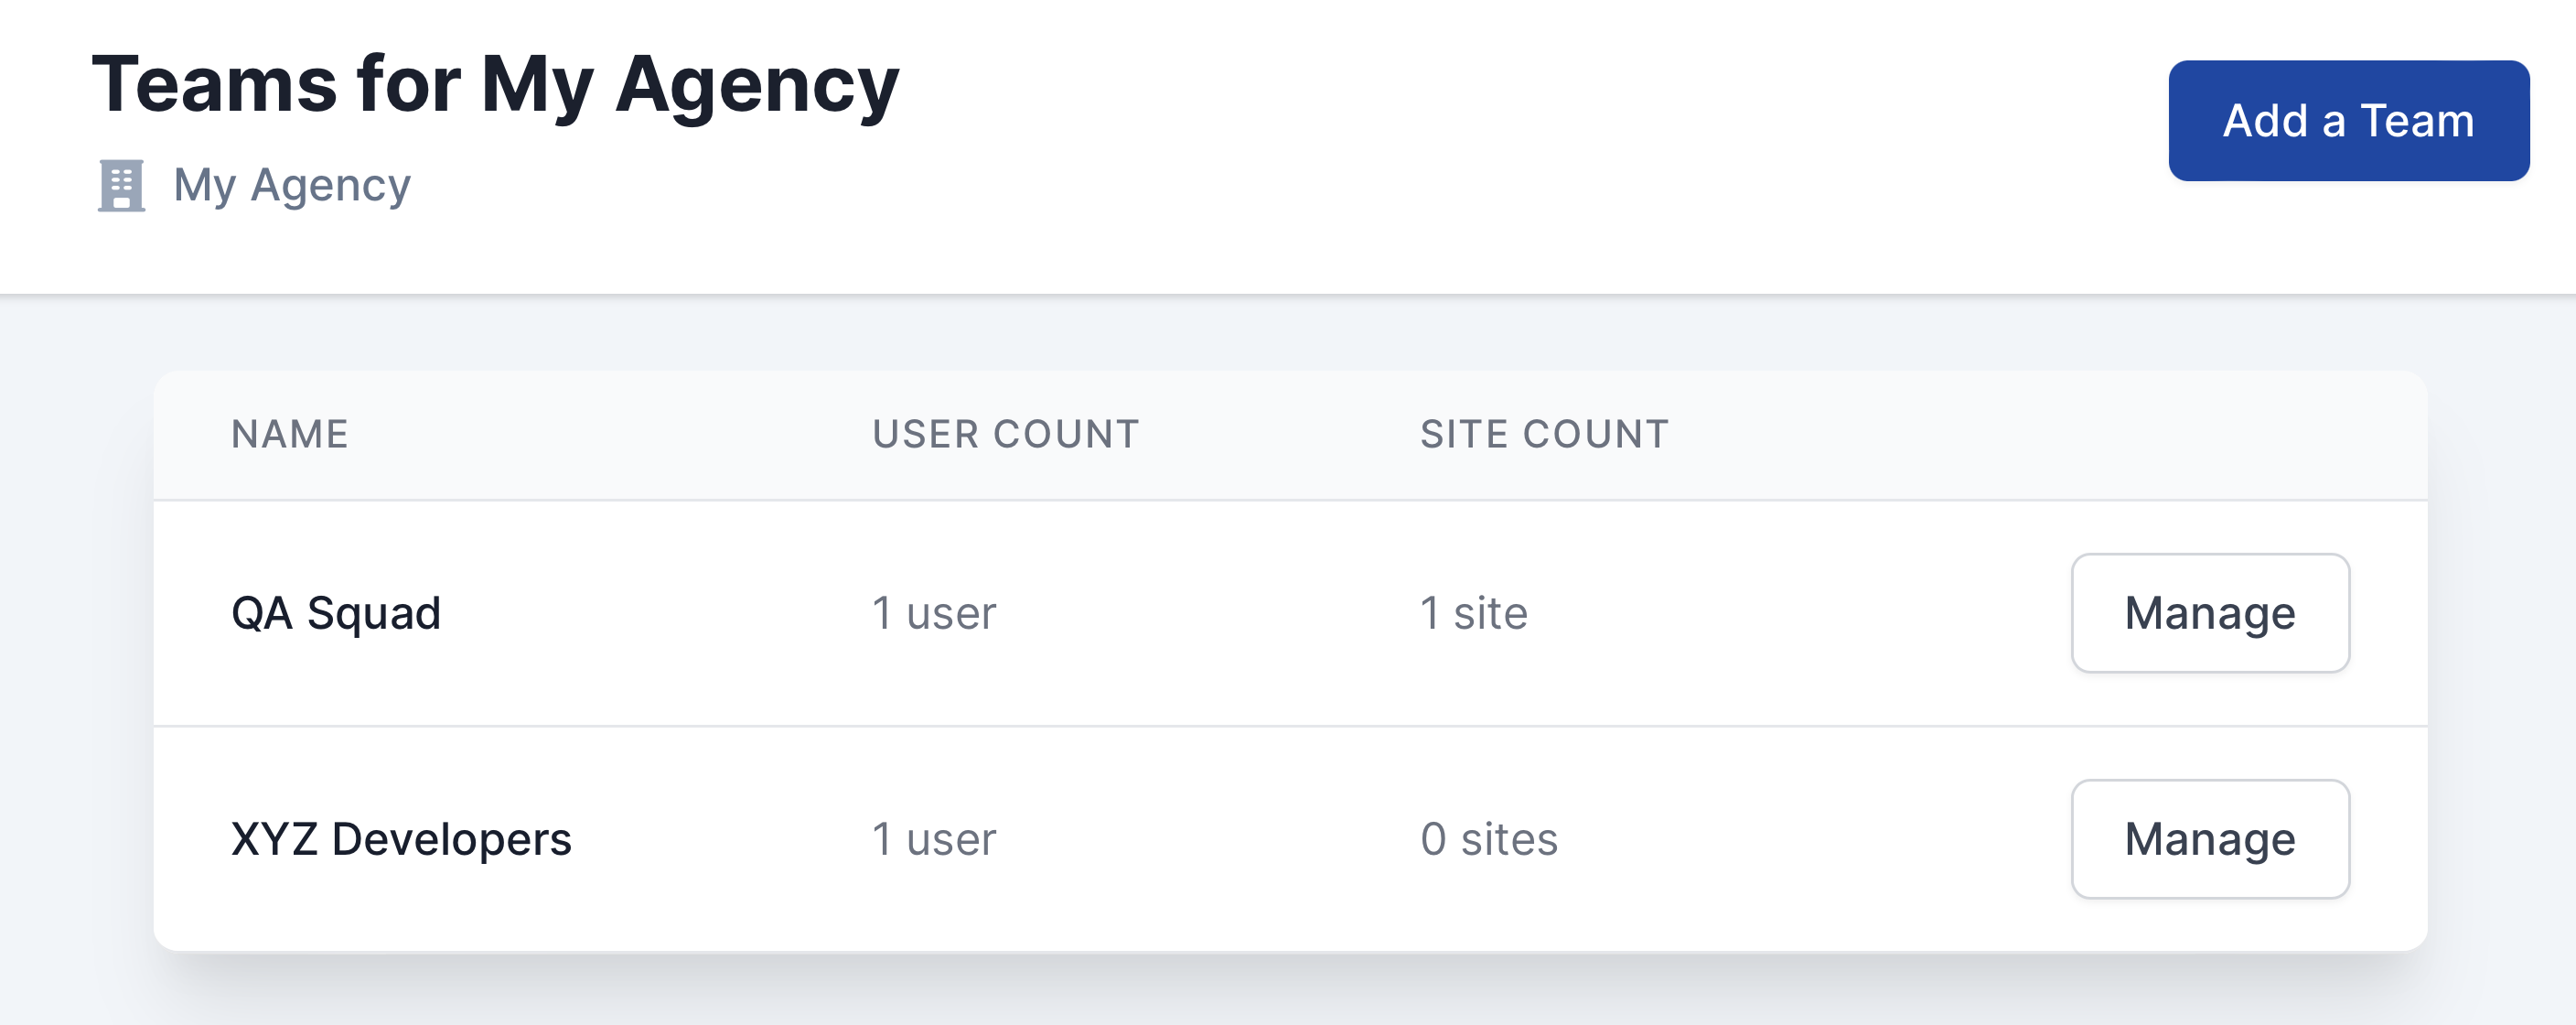
Add a Team
Tip: Ensure you’ve already set up users and configured sites before creating a Team.
- Go to the Teams Page and click Add a Team.
- Enter a descriptive Team Name to identify the group (e.g., “Design Team” or “Client XYZ”).
- Click Save.
Next Steps:
- Manage Sites: Use the dropdown to add sites that this Team can access.
- Manage Members: Select users from your Workspace to assign them to the Team.
Manage Teams
Who Can Manage Teams?
Only users with the following roles can manage Teams:
- Owner
- Administrator
- Project Manager
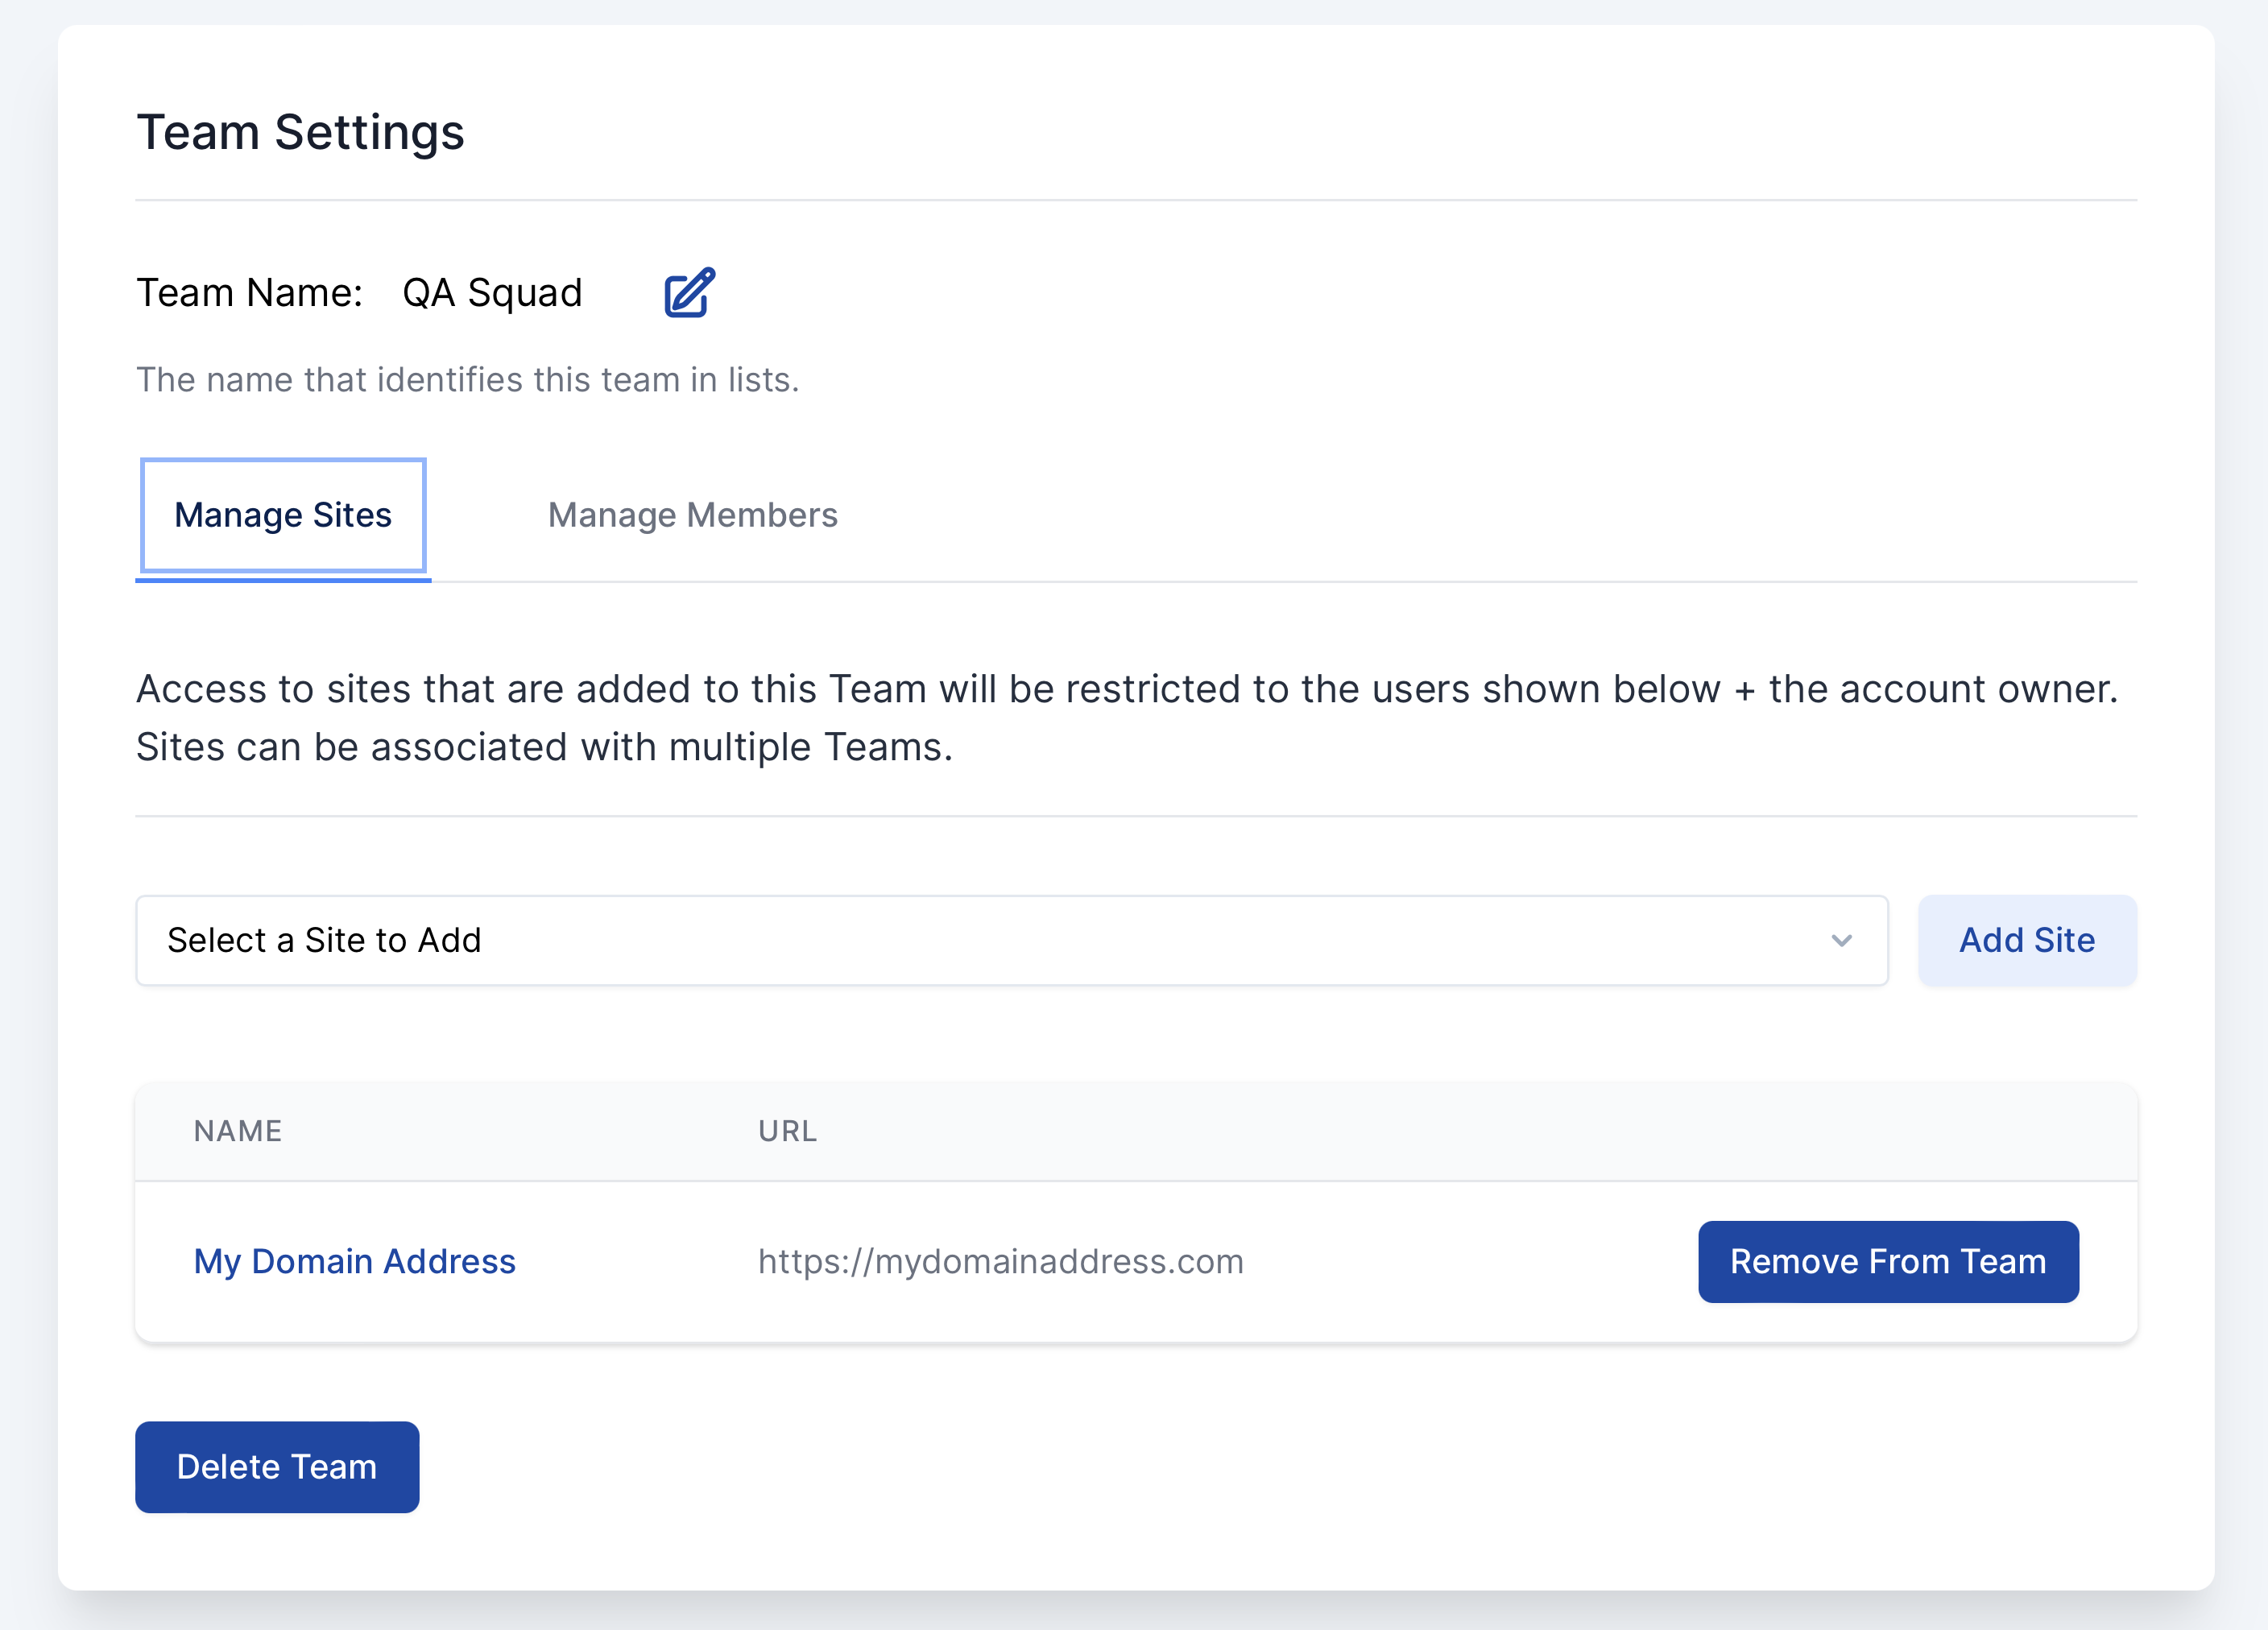
How to Manage a Team:
- Go to the Teams Page and click Manage next to the Team you want to edit.
- From here, you can:
- Edit the Team Name.
- Add or remove Sites and Members.
- Delete the Team entirely.
Important: Deleting a Team will remove all associated site access for its members.
Add Users to Workspace
AAArdvark doesn’t limit the number of users you can add. Enter the email address of a user to invite them to your account. New users will receive an email invitation to AAArdvark.
Users could include a variety of different people, including:
- Clients
- Developers or Remediators
- Co-Workers
- QA Team
- Other Auditors
You must add the user to a Team once they’ve joined to grant access to specific websites in your Workspace.

User Roles
When adding a new User to your Workspace, you’ll also need to select a User Role to assign them. The Role will determine their level of access and permissions within your Workspace.
- Owner
- All permissions, including managing billing, workspace plan updates, and account cancellation.
- Administrator
- All permissions except managing billing, workspace plan updates, and account cancellation.
- Project Manager
- Assign, comment, and update the status of Issues.
- Invite Clients, Developers, and Project Managers to the Workspace.
- Manage teams.
- Add, update, and delete Sites, Pages, and Integrations.
- Update Roles and remove Users (Developers, Project Managers, and Clients Only)
- Start automatic and manual Scans.
- Access, manage, and create Site Tags.
- Access, edit, delete, and create Custom Manual Issues.
- Accessibility Tester
- Assign, comment, and update the status of Issues.
- Invite Clients, Developers, and Project Managers to the Workspace.
- Manage teams.
- Add, update, and delete Sites and Pages.
- Update Roles and remove Users (Developers, Project Managers, and Clients Only)
- Start automatic and manual Scans.
- Review and resolve Manual Issues.
- Access, manage, and create Site Tags.
- Access, edit, delete, and create Custom Manual Issues.
- Developer
- Assign, comment, and update the status of Issues.
- Add, update, and delete Pages and Integrations.
- Update Sites.
- Start automatic and manual Scans.
- Client
- View Dashboard and Download Reports
- Assign, comment, and update the status of Issues.
- Start manual Scans.
The User Role does not change across Teams – their permission level is the same regardless of what website they’re assigned to.
Once the user is added to the Workspace, you’ll see a pop-up confirming that.

If an invited user wants to set up and manage their own Workspace, they’ll need to register a new account.
User Requesting Access
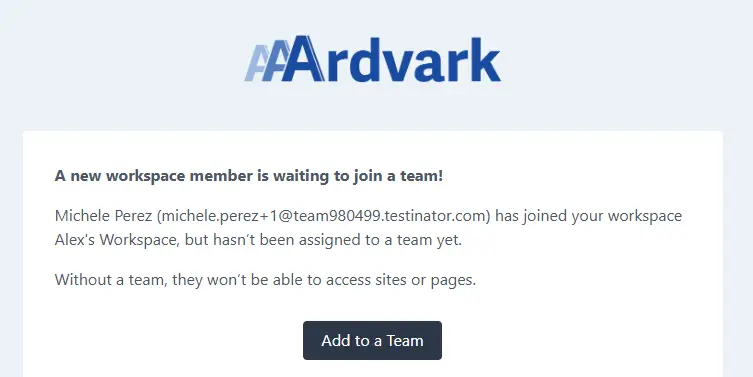
When a user is invited to the Workspace and has not yet been added to a team, they can click Notify Admin to issue a notification informing the admin.
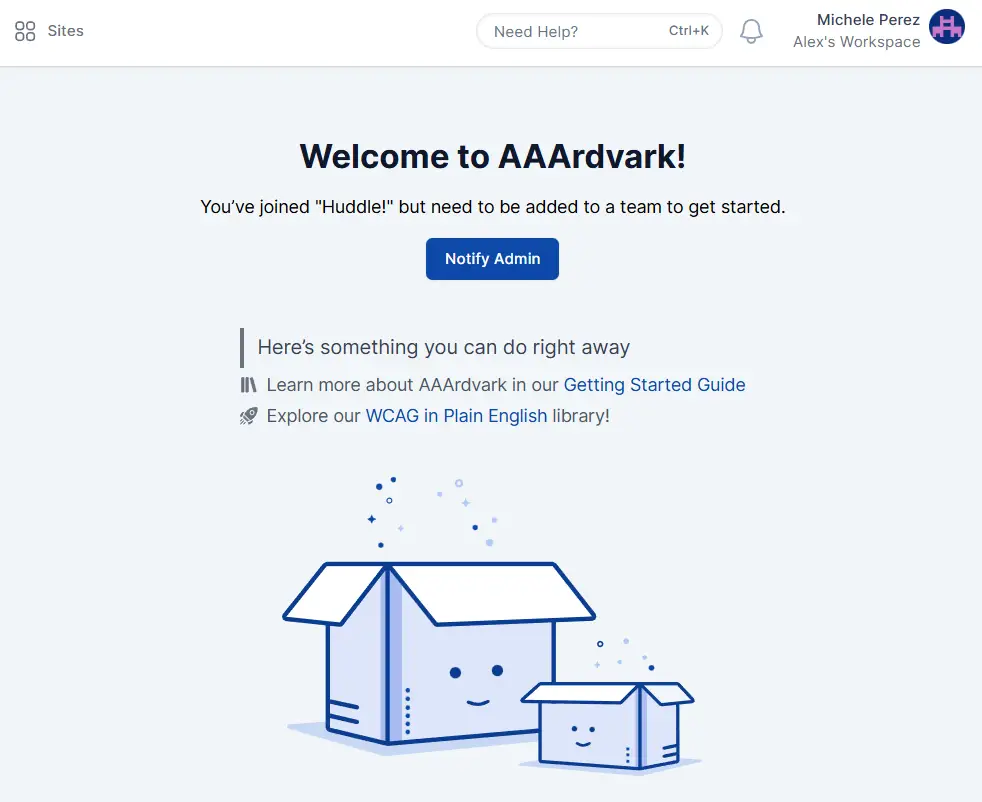
The admin can then add the user to the team from their dashboard, or by clicking Add to a Team from their email.
Manage Users
In the Users section in the Workspace Settings, you can manage active users. Here are the available actions:
- Change Role
- Click the Change Role button next to the user whose role you want to change.
- A pop-up modal will appear with the options for the new role.
- Choose the desired role and click Save to confirm.
- Remove User
- Click the Remove User button next to the user you want to remove.
- A pop-up modal will appear to confirm the removal.
- Click Remove to confirm.
If you select Change Role, a pop-up modal will appear prompting you to select the new role for the user. Click Save to confirm changes.
Transferring Workspace Account Ownership
To transfer ownership of a Workspace, follow these steps:
- Add the new owner as an administrator to the Workspace.
- The current Workspace Owner should send a support request to AAArdvark’s support team, including the email address of the new owner and a confirmation statement authorizing the transfer.
- Once the request is processed, the new user will become the Workspace Owner, and the previous Workspace Owner will automatically be assigned the Administrator role.
- If the previous Workspace Owner no longer requires access to the account, they can delete their user account after the transfer is complete.
Note: Account ownership changes are processed by our support team and should usually be completed within one business day. For security purposes, additional verification may be required before completing the transfer.
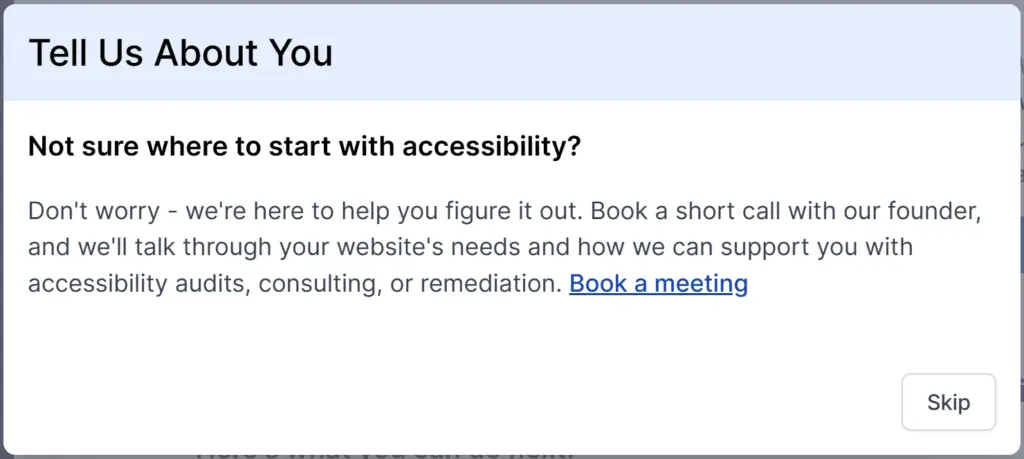
Book A Meeting
If a Workspace owner selects a non-technical role, a pop-up will appear offering support. You can choose ‘Book a meeting’ to connect with our in-house accessibility expert. This is helpful if you’re unsure how to get started with accessibility.