Understand and View Issues
Introduction
AAArdvark makes it easy to see what’s going wrong across your site. This guide walks you through how issues are grouped and how to read site-level data.
Whether you’re looking for contrast problems, missing alt text, or anything in between, this is where you start to learn the basics on how to understand issues.
You must run a scan on the site you wish to view issues for first, or this menu item will not be accessible.
Basic Concepts
There are a few important concepts to understand before diving into the Issues tab.
Issues
Accessibility issues on your site are mapped to specific WCAG Success Criteria, such as insufficient contrast or missing descriptive text. Think of an issue as a category of problem that may have multiple occurrences.
Instances
An instance is a specific example of an issue on your site. For example, a missing alt text issue may have instances on several images across multiple pages.
We use advanced pattern matching in an attempt to group like issues together. This grouping enables developers to better identify the source template for grouped instances, even if they occur on multiple pages of your site.

Issue Categories
Issues in AAArdvark are categorized into three groups to help prioritize remediation:
- Errors
These are confirmed issues detected by our automated scanner or identified through manual testing by an accessibility expert. Errors represent clear accessibility failures and should be prioritized for resolutions. - Warnings
Potential issues that require human review to confirm if they are actual problems. For example, a warning might flag text that could have insufficient contrast under certain conditions, which needs to be checked manually. - Notices
Turning on notices is optional, and notices are helpful reminders to review common elements that could cause issues. For instance, the automated scanner can check if an iframe has a title, but cannot determine if the title is accurate and descriptive. Notices prompt you to manually verify such details.
Tip: Start by addressing Errors, as they represent the most critical and actionable accessibility issues, then move on to Warnings and Notices as part of a comprehensive review.
Issue Trends and Data
Site Statistics
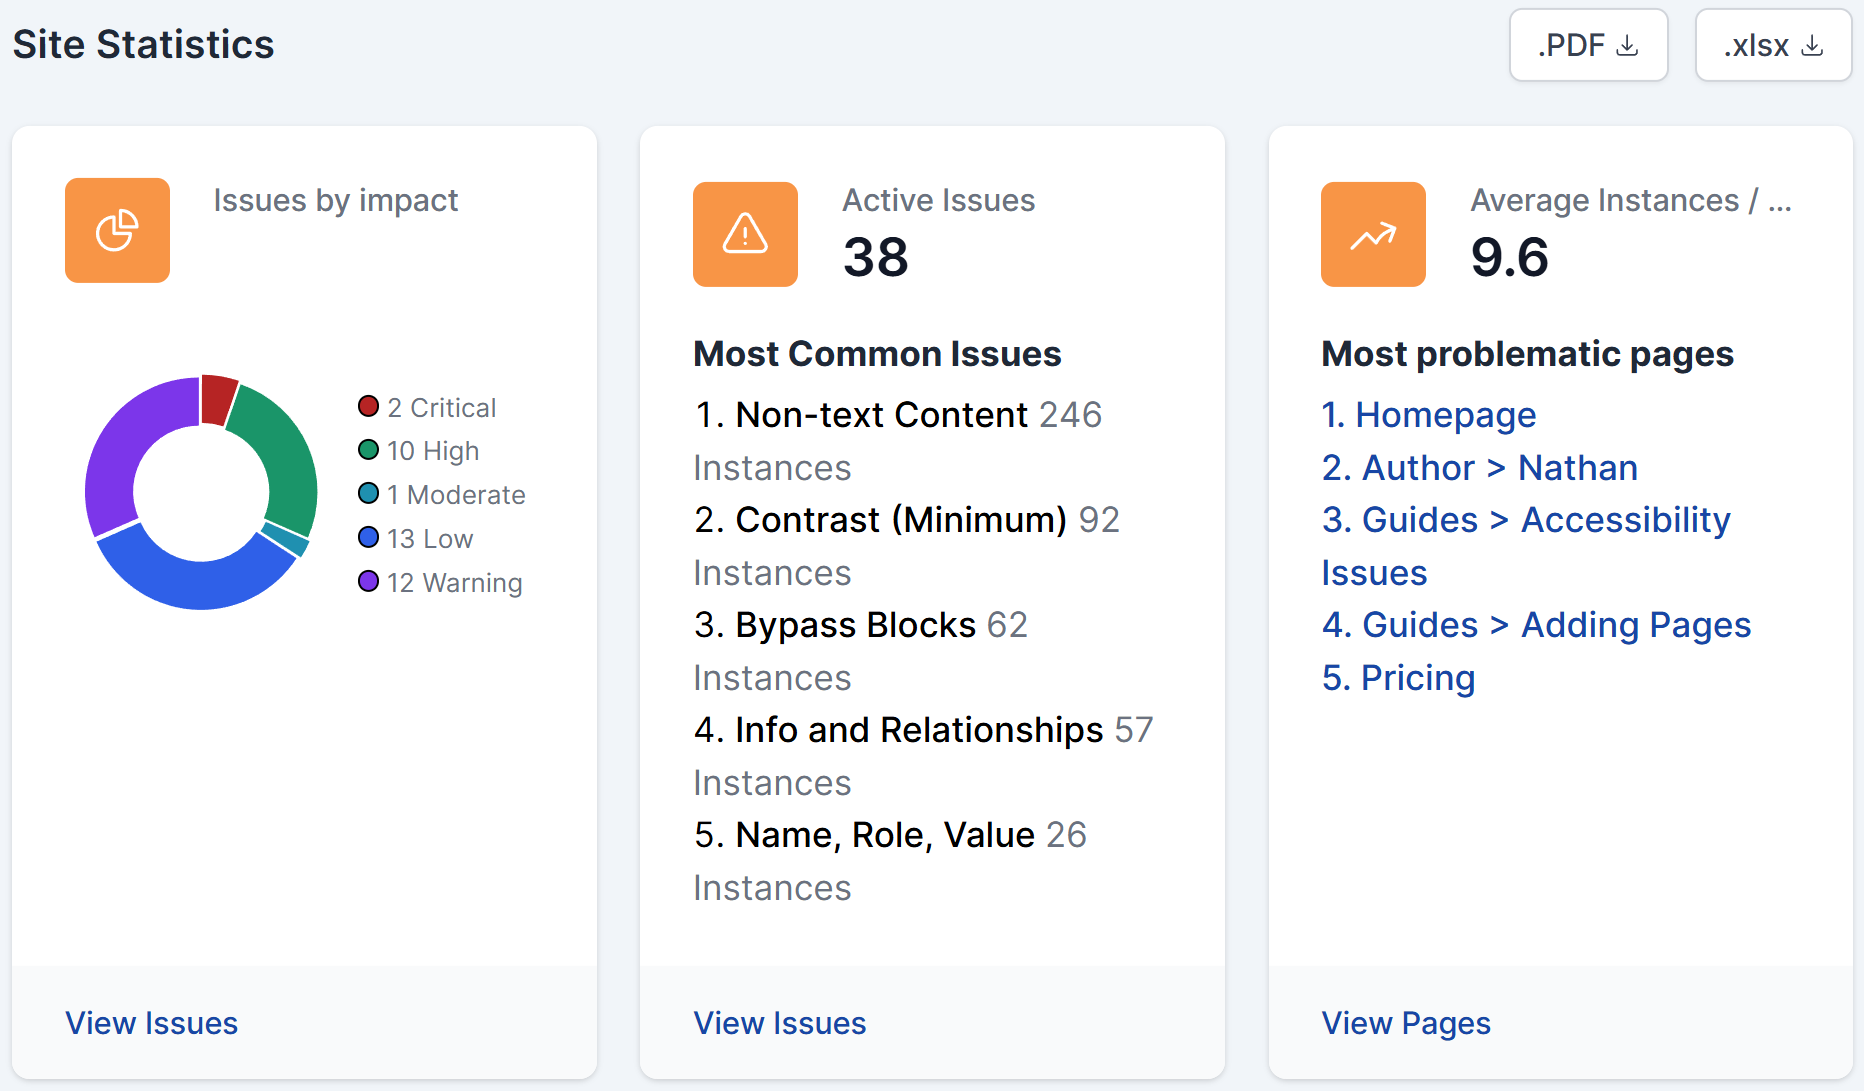
The Site Statistics in the dashboard provide a summary of the issues on the site. A graphic will display issues by impact, and from there, the issues can be visited.
Active Issues will be tracked as well, displaying the most common issues found on the site.
Additionally, Average Instances/Page with the most problematic pages will be presented in this view.
Count History
The Count History section in the dashboard provides a graph view of issues and issue instances over time, based on the most recent scan.
A graph for the issues can be seen, showing issues scanned over time.

Another tab with issue instances can be viewed, showing issue instances scanned over time.

Accessibility Issues for a Site
After a site scan or manual auditing, discovered issues will be listed under the Issues tab on your Site’s Dashboard.
Viewing Issues
For each identified issue, you’ll see the following details:
- Issue Number: The unique identifier for the issue (e.g., Issue #1).
- Severity Level: The criticality of the issue, such as Critical, Very High, High, Warning, etc.
- Detection Status: Was the issue found through automated scans or created manually?
- Instance: The number of occurrences of this issue across the site during the audit.
- Date: The scan date when the issue was identified.
- Description: A short overview of the issue.
- Assignee: The name of the team member responsible for resolving the issue. If unassigned, it will display “Unassigned.”
- Comment: The total number of comments added on this issue.
Filtering Issues
Use the filters in the Issues tab to search, sort, and prioritize accessibility issues. Filters include severity, status, assignment, and more, helping you focus on what matters most.

Search Issues
Search for issues by entering keywords, WCAG criteria, or descriptions. For example, you can search for ‘color contrast’ or a specific success criterion like ‘1.4.3.’
Sort Issues
Sort issues by priority to focus on what needs attention first. Priority is determined by:
- Severity: How impactful the issue is for users
- Urgency: How quickly the issue should be resolved
- Instances: The number of times the issue occurs on your site
You can also sort issues by severity or chronological order.
Severity
Issues can be filtered by Severity, all of which is determined by the impact the issue has on the site users. The choices available are:
- All
- Critical
- Very High
- High
- Moderate
- Low
- Warning
Type
The Type dropdown can be used to filter issues depending on whether they were caught in an Automatic scan, or added as a manual issue. The choices available are:
- All
- Automatic
- Manual
Status
Issues can be sorted by Status, whether they are active, resolved, or not an issue. This allows users to discern what issues need resolving and are already resolved. The choices available are:
- All
- Active
- Pending
- Resolved
- Not an Issue
Assigned To
To find out which issues are assigned to certain assignees, the Assigned To filter will allow users to select which assignee they want to filter by. Issues that have been assigned to other Workspace users will appear under the filter. If they have not been assigned to anyone, they will remain under the Unassigned filter.
The choices available are:
- Anyone
- Assigned to me
- Unassigned
Success Criteria
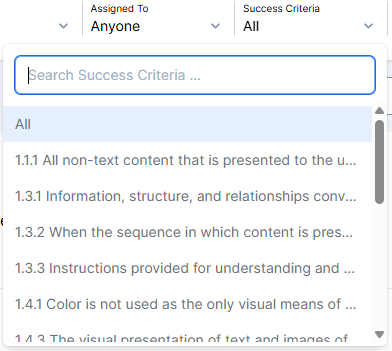
Issues can be sorted by WCAG Success Criteria. Depending on the Success Criteria of issues captured on the site, either through automatic or manual audits, these criteria will be listed out on the dropdown to use as filters.
Pages
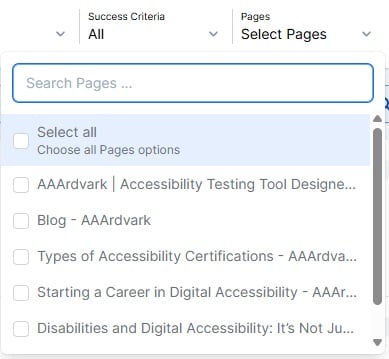
The Pages filter can be utilized to view the list of issues for specific pages or the overall site. You can also search pages by their slug.
This allows users to see what issues have been found on certain pages and address them individually.
Issue Details
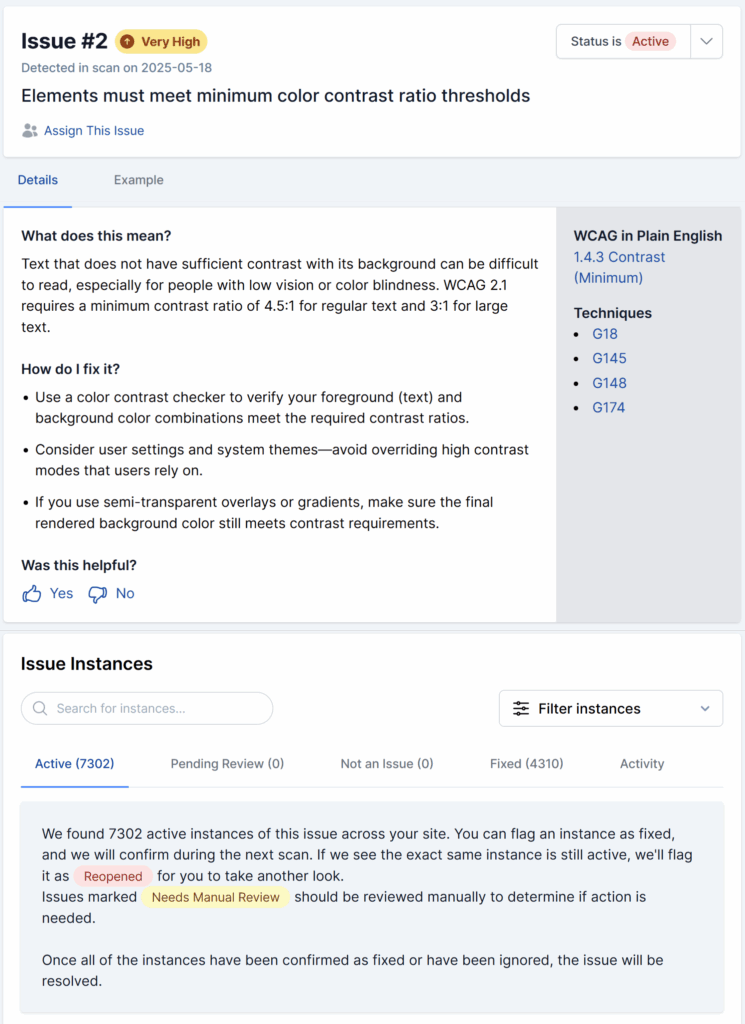
Click an issue in the Issues List to open the detail view. This includes:
- Description: A clear explanation of the issue.
- Recommendations: Suggested solutions and examples.
- Instances: A list of all places this issue occurs on your site.
- Comments: Notes or discussions from your team.
- Status: Whether the issue is Active, Resolved, or Not an Issue.
Use the Previous Issue and Next Issue arrow buttons at the top of the page to navigate between the Issue Detail pages.
Issue Description Feedback
To leave feedback on an Issue Description, click Yes if you found it helpful, or No if you didn’t, under the “Was this helpful?” section.
If you choose No, a comment box will appear so you can share any suggestions for improvement. Our support team will receive and review your feedback.
Zero Issues Detected
If no issues are detected during the Automated Scans for your site, a confirmation message will appear on the Site Dashboard, and the Issues tab will indicate that no issues were found.
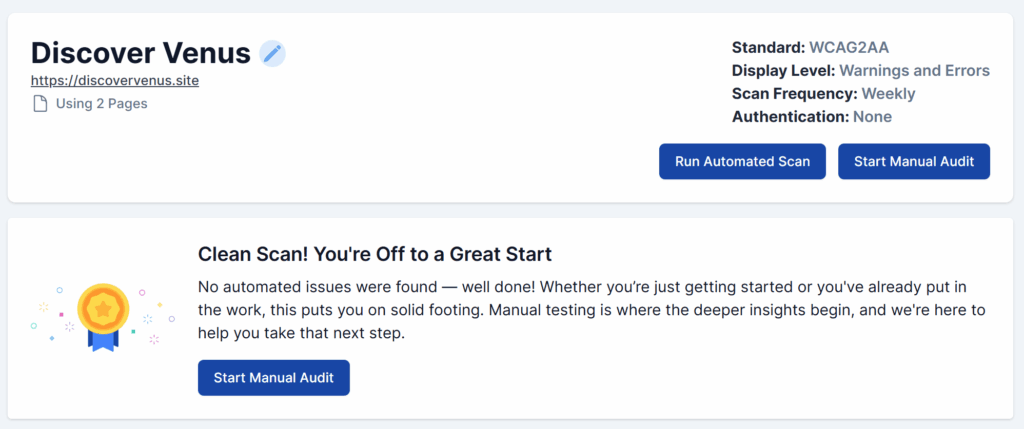
If the automated scan shows a Clean Scan, running a manual audit is still recommended.
If all the issues recorded during the Manual Audit are also resolved, another confirmation message will appear on your Site Dashboard.
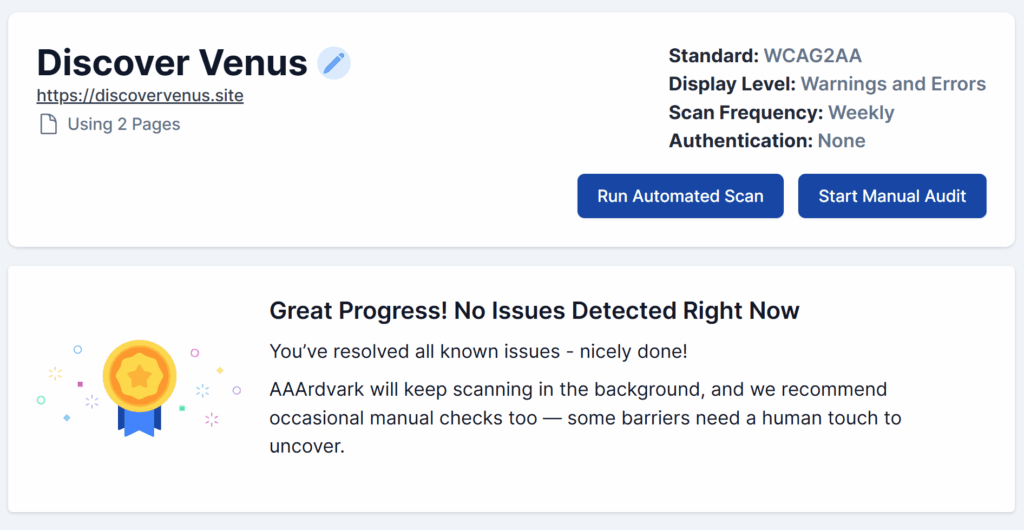
Issue Instances
An issue is a type of accessibility problem (like missing alt text). An instance is each place where the problem shows up on your site. For example, if three images are missing alt text, that’s one issue with three instances. Instances help you see how widespread an issue is and where to fix it.
Issue instances can be filtered in two ways:
- By the state of whether or not they require a review
- The pages they appear on

Filtering by Pages
Filtering Issue Instances by pages is especially useful if there are a lot of issue instances active on a site across numerous pages. One page, several pages, or all pages can be selected and displayed.
Filtering by Review Status
Filter issues by whether they Need Manual Review or not, these instances need to be checked to confirm if any action or fixes are needed.

Collapsible Instances
By default, all the instances are in expanded view. You can either collapse all instances together via the “Collapse All” option or use the collapse option on individual instances to collapse or expand an instance.

Instance URL
Click the URL under ‘Seen On’ to open the linked page in a new tab or switch to Visual Mode for issue viewing.

Viewing Instances on Pages
Instances can also be seen in a group of pages, allowing the ability to see where the issue appears with ease. Pagination is included if there are more than ten pages that the issue appears on.

Ready to Fix and Manage Issues?
Now that you know how to view and understand issues, it’s time to take action. Head over to the Fix and Manage Issues guide to learn how to assign issues, review instances, update statuses, and track your team’s progress as you resolve accessibility problems across your site.
