
Accessibility Team Workflow
Introduction
A strong digital accessibility strategy combines automated and manual testing with a maintenance plan. This guide walks you through a standard audit, remediation, and maintenance workflow a team can use to reach compliance.
Multiple people may be involved, each with unique roles. AAArdvark’s features support every role, and workflows are completed efficiently.
Preparations Before Getting Started
Before running a scan, meet with your team and client to plan the project.
Preparation Work:
- What pages will you test?
- What complex functionality does your site contain?
- What level of compliance are you aiming for?
- Who is doing what?
Choosing Pages
For small sites, testing the entire site may make sense. Larger sites will need to prioritize; auditing thousands of pages isn’t realistic.
General guidelines for choosing pages:
- Templates: Test a few pages that share layouts (e.g., only some blog posts, recipe pages, product pages).
- Complex features: Focus on forms, calendars, popups, videos, galleries, search, apps, and other interactive elements.
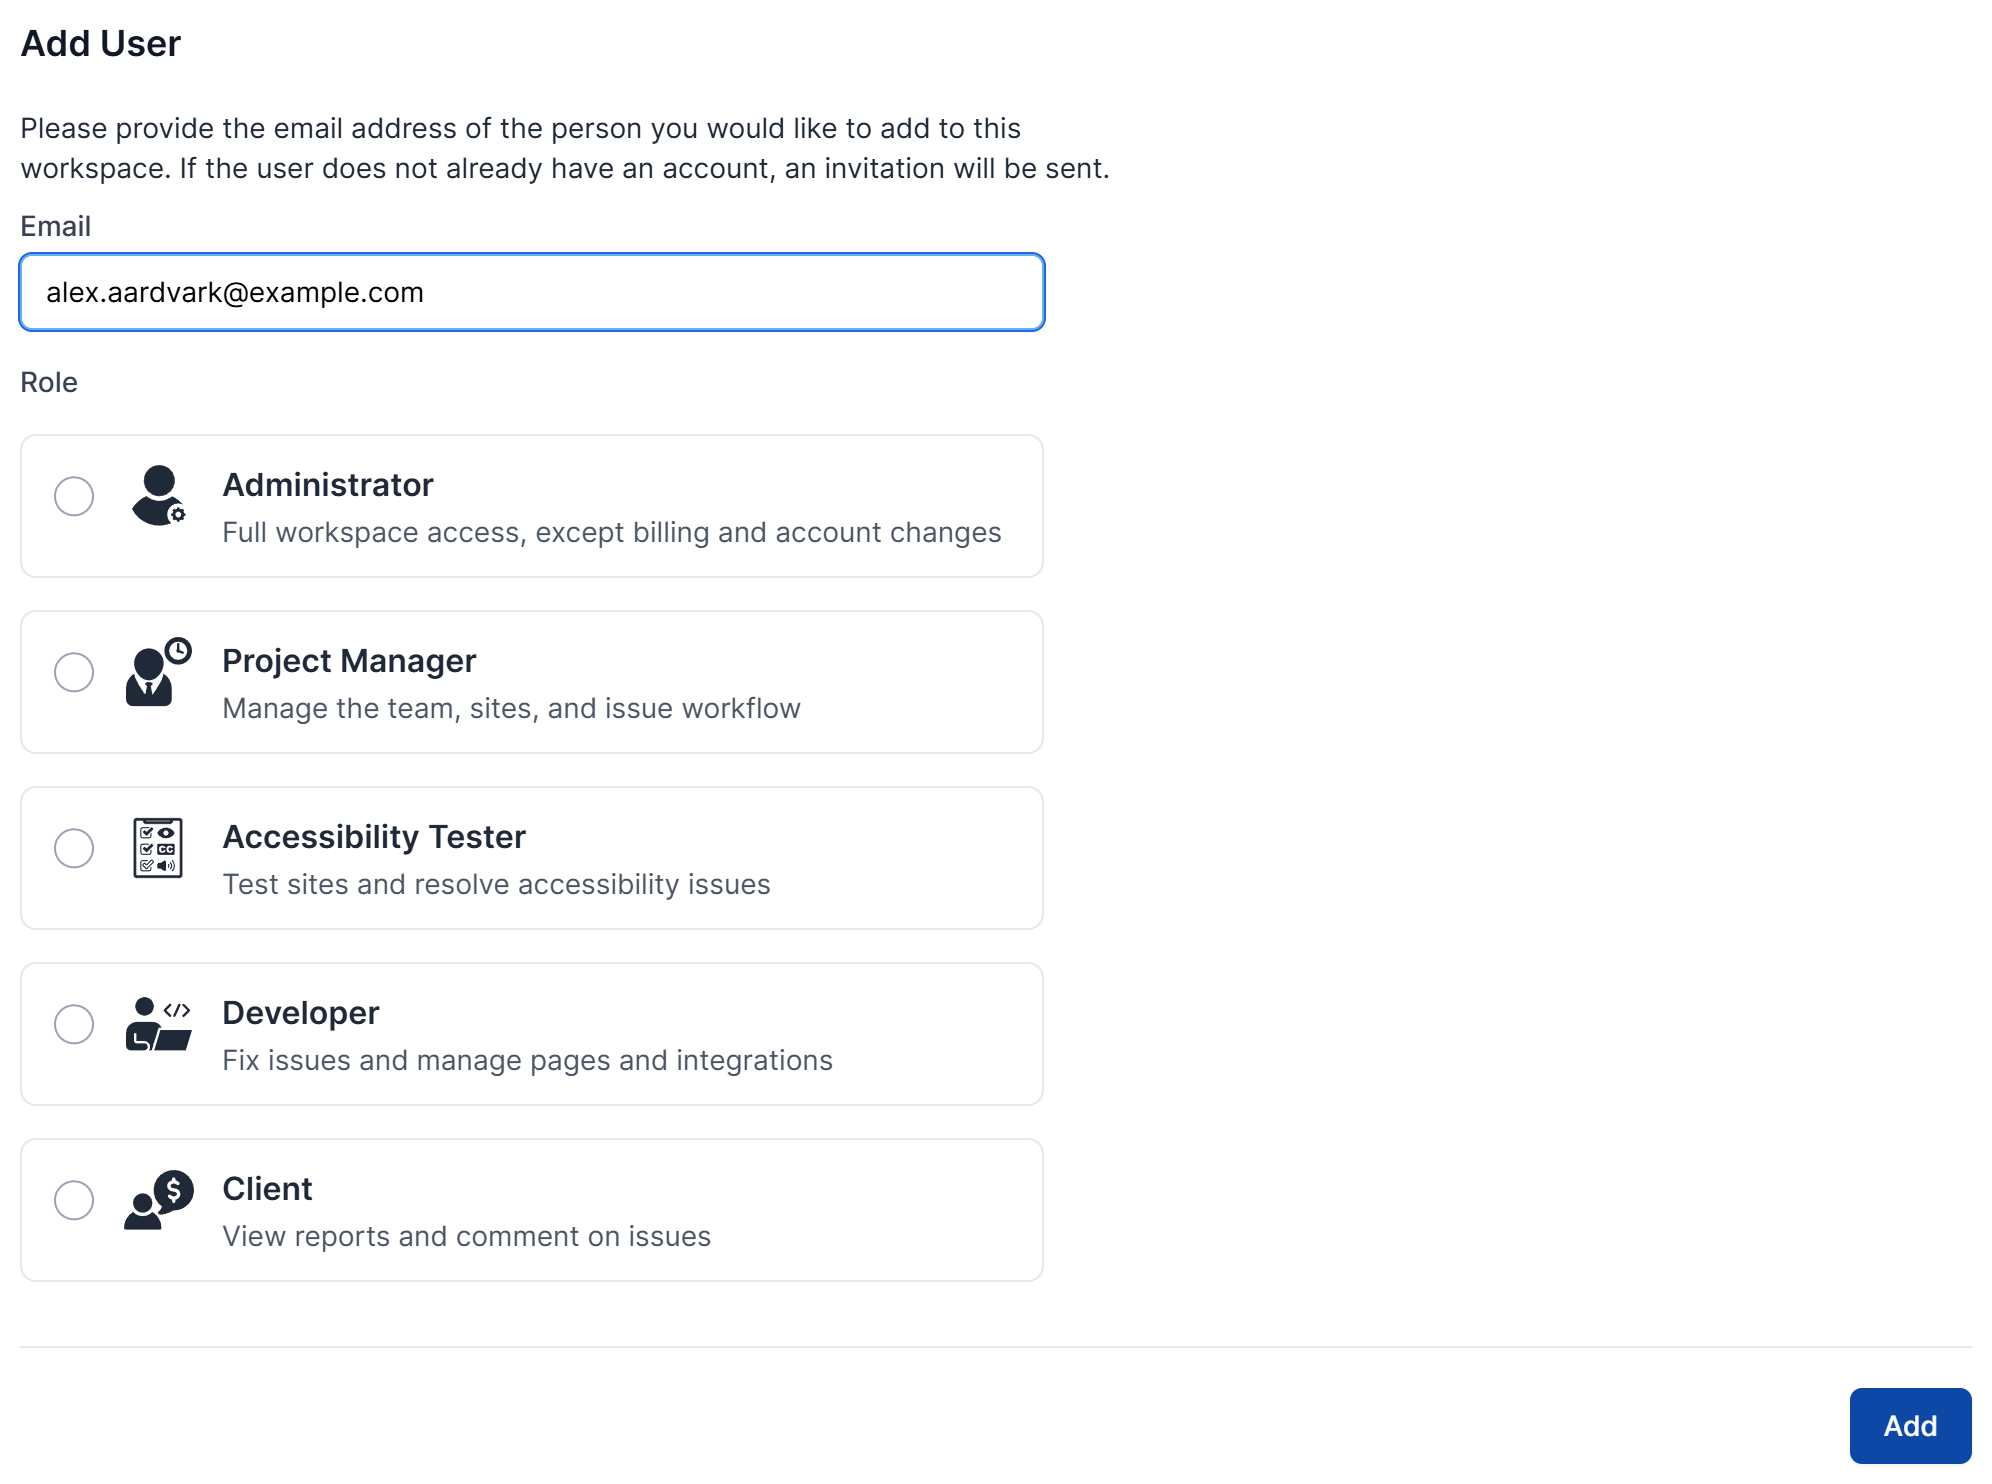
- Key pages: Audit top-level or high-traffic pages. Use Google Analytics and your sitemap to help choose.
Choosing the Level of Compliance
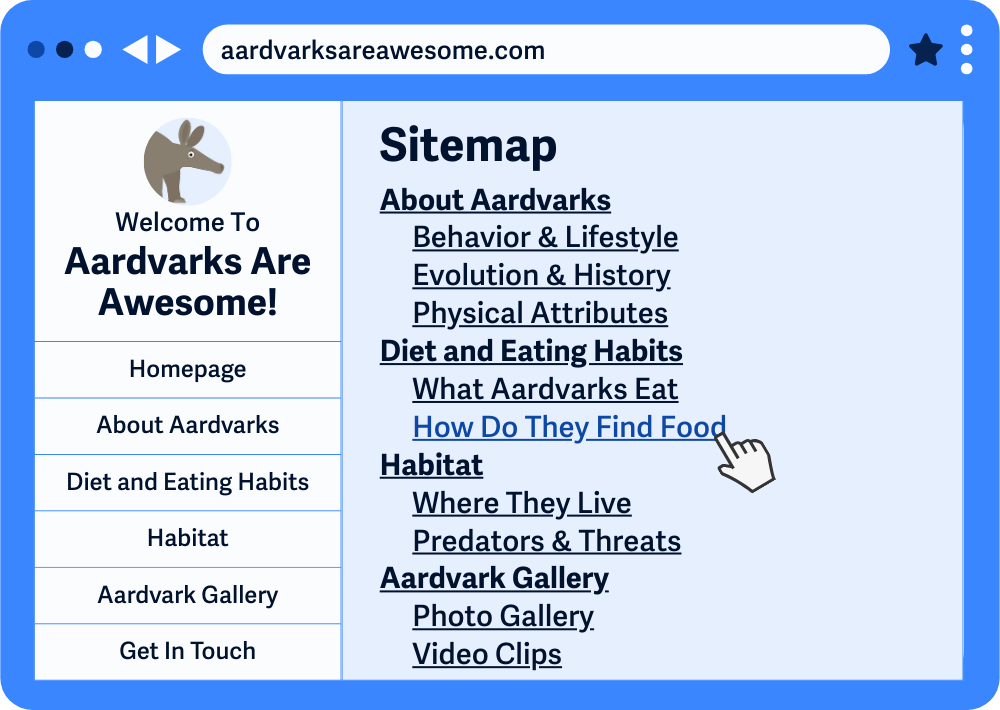
Compliance goals determine the depth of testing. To track progress, set the target in AAArdvark with the Standard setting under Scan Settings in your site’s settings. For example, the highest level of compliance for the Web Content Accessibility Guidelines (WCAG) is AAA.
If you’re aiming for ADA compliance in the US (making your site “ADA compliant”), note that the ADA itself doesn’t define its own technical standard. WCAG (usually 2.1 or 2.2 Level AA) is what courts and settlements consistently point to as the benchmark instead.
Your goal may be minimum legal compliance or a higher standard of inclusion. Decide early and communicate it clearly.
Choosing Roles in the Project
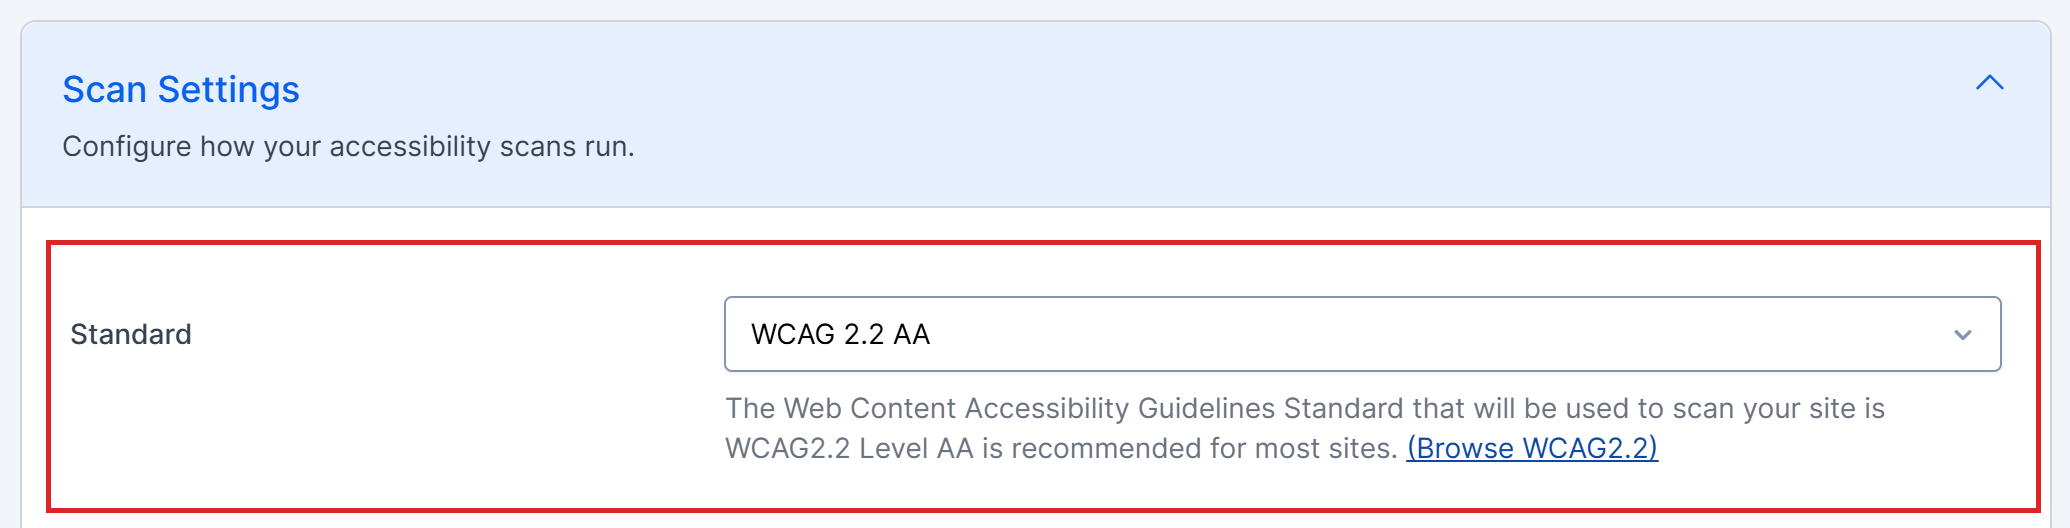
AAArdvark User Roles and their contributions:
- Administrator/Project Manager: Oversees the accessibility project.
- Accessibility Tester: Manually audits and reports issues.
- Developer: Fixes reported issues.
- Client: Monitors progress and updates.
Before starting, go to the Teams page: create a team with Add a Team, add your colleagues with Add User, and add the website to the team so its members can access it.
Read our guide on how to invite users to your workspace with these roles.
Expected Workflow for a Team
Let’s go through the standard order of operations for a website being tested, fixed, and maintained for digital accessibility compliance.
1. Automated Scan
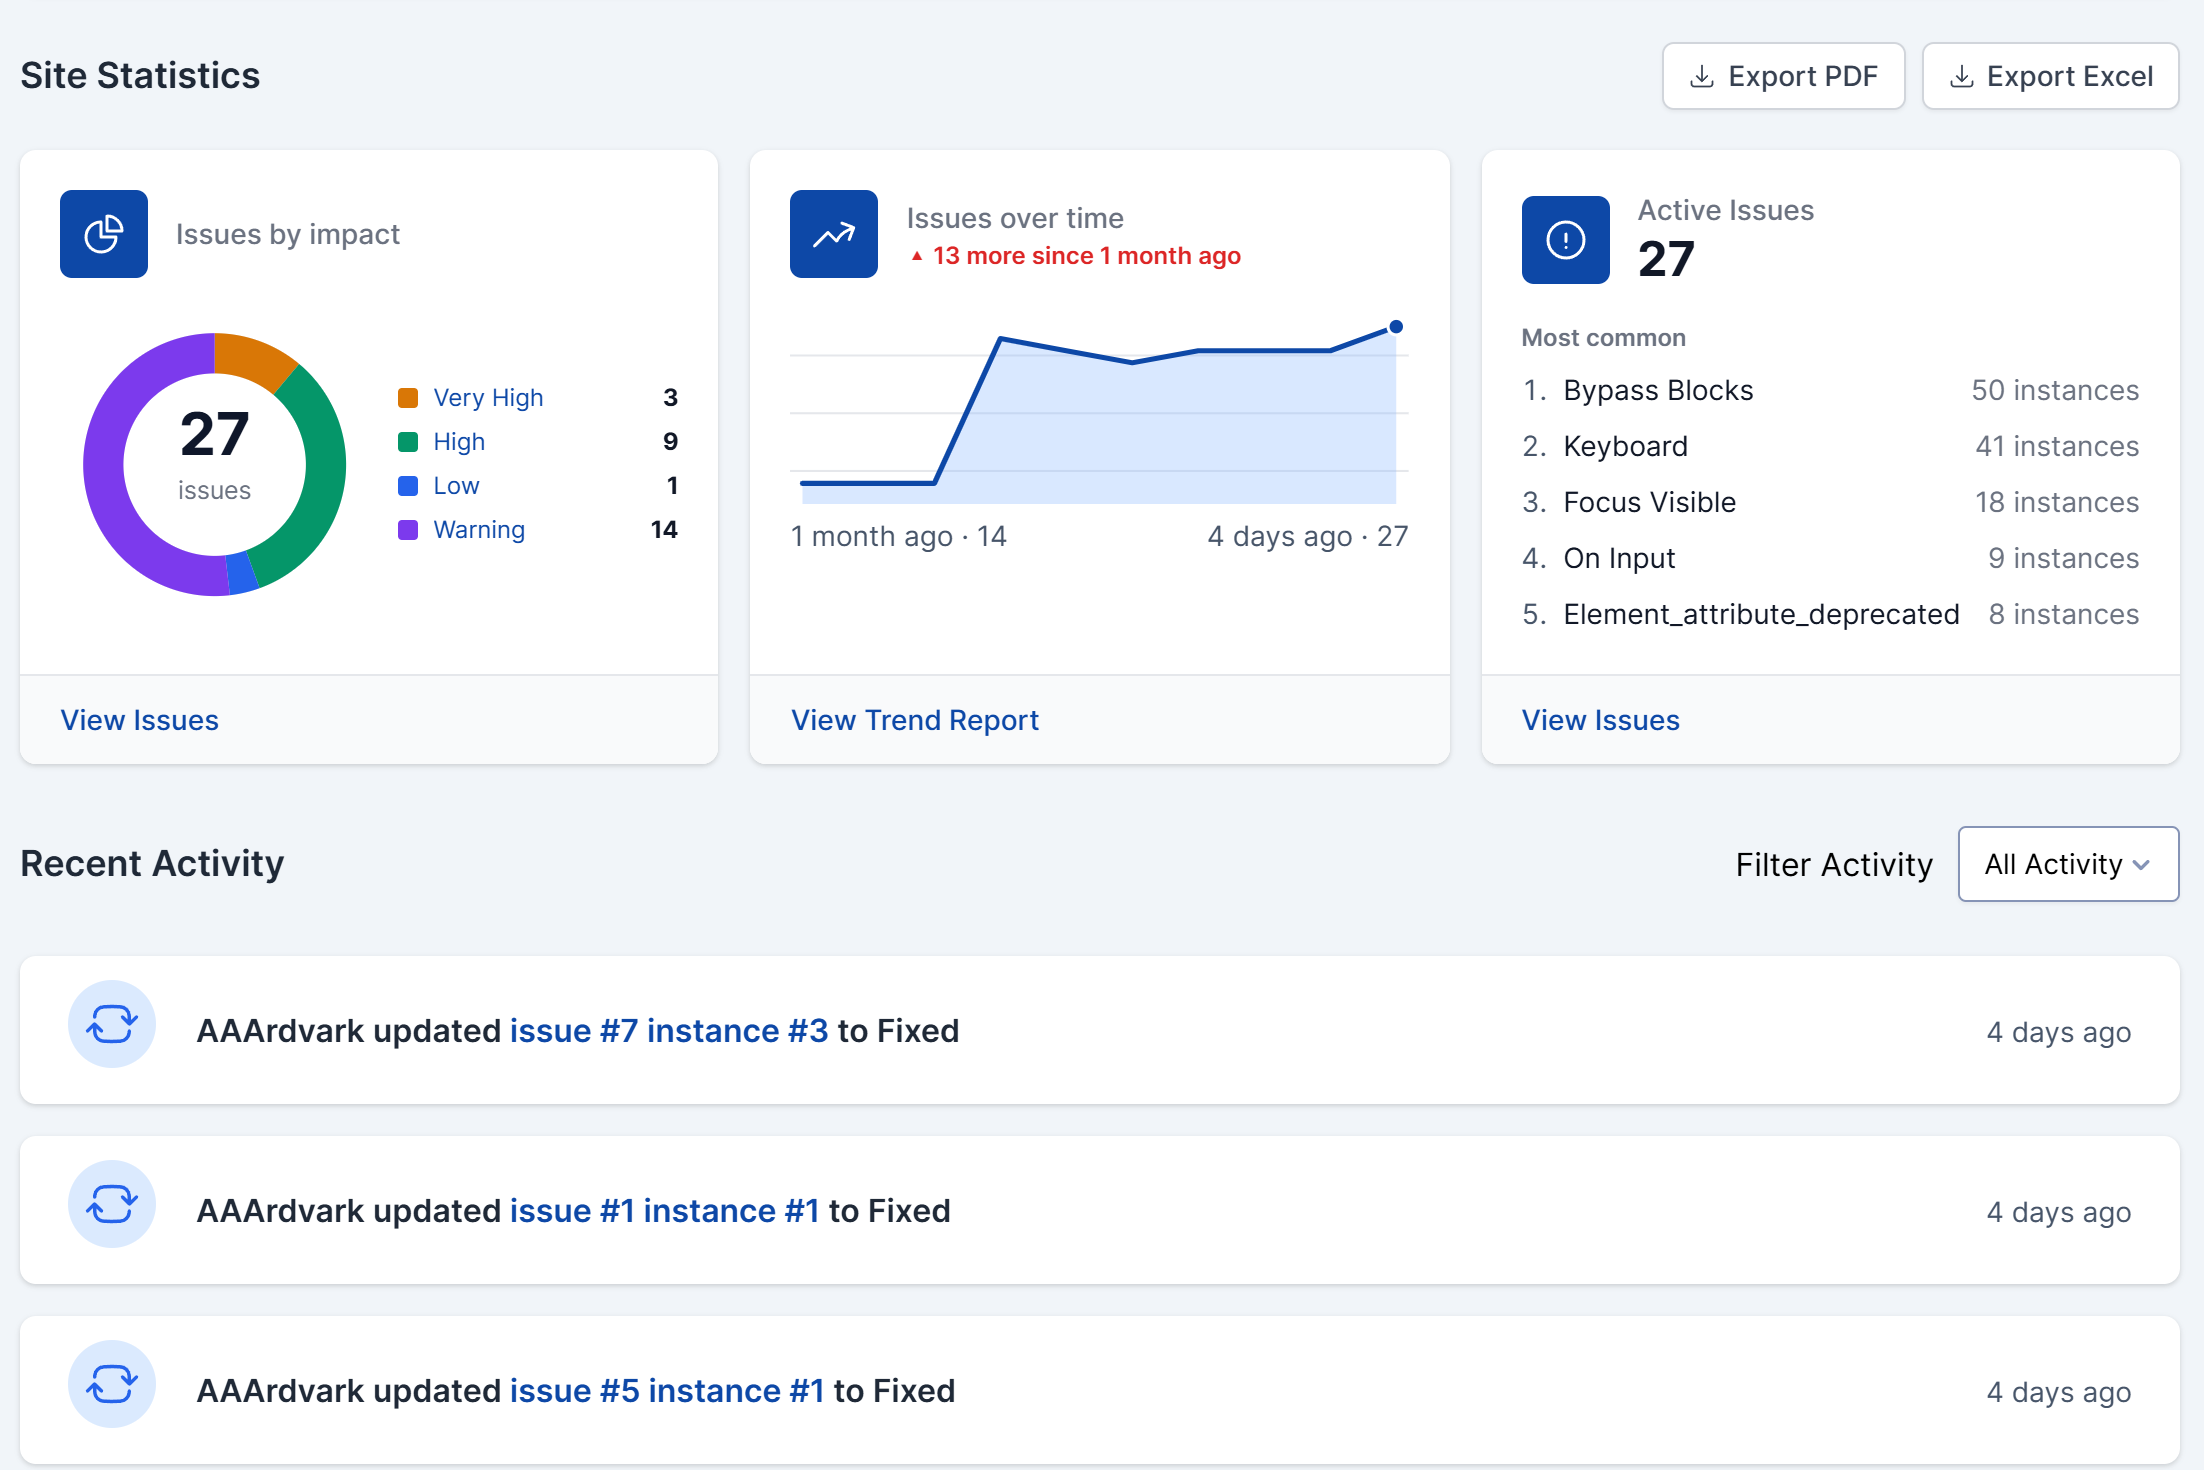
After adding the site and pages to AAArdvark, run an automated scan to detect common issues. This quick “first pass” helps prioritize problems and reduces manual review time.
Check out our guide for an in-depth view of the Automated Scan workflow.
2. Review and Fix Automated Issues
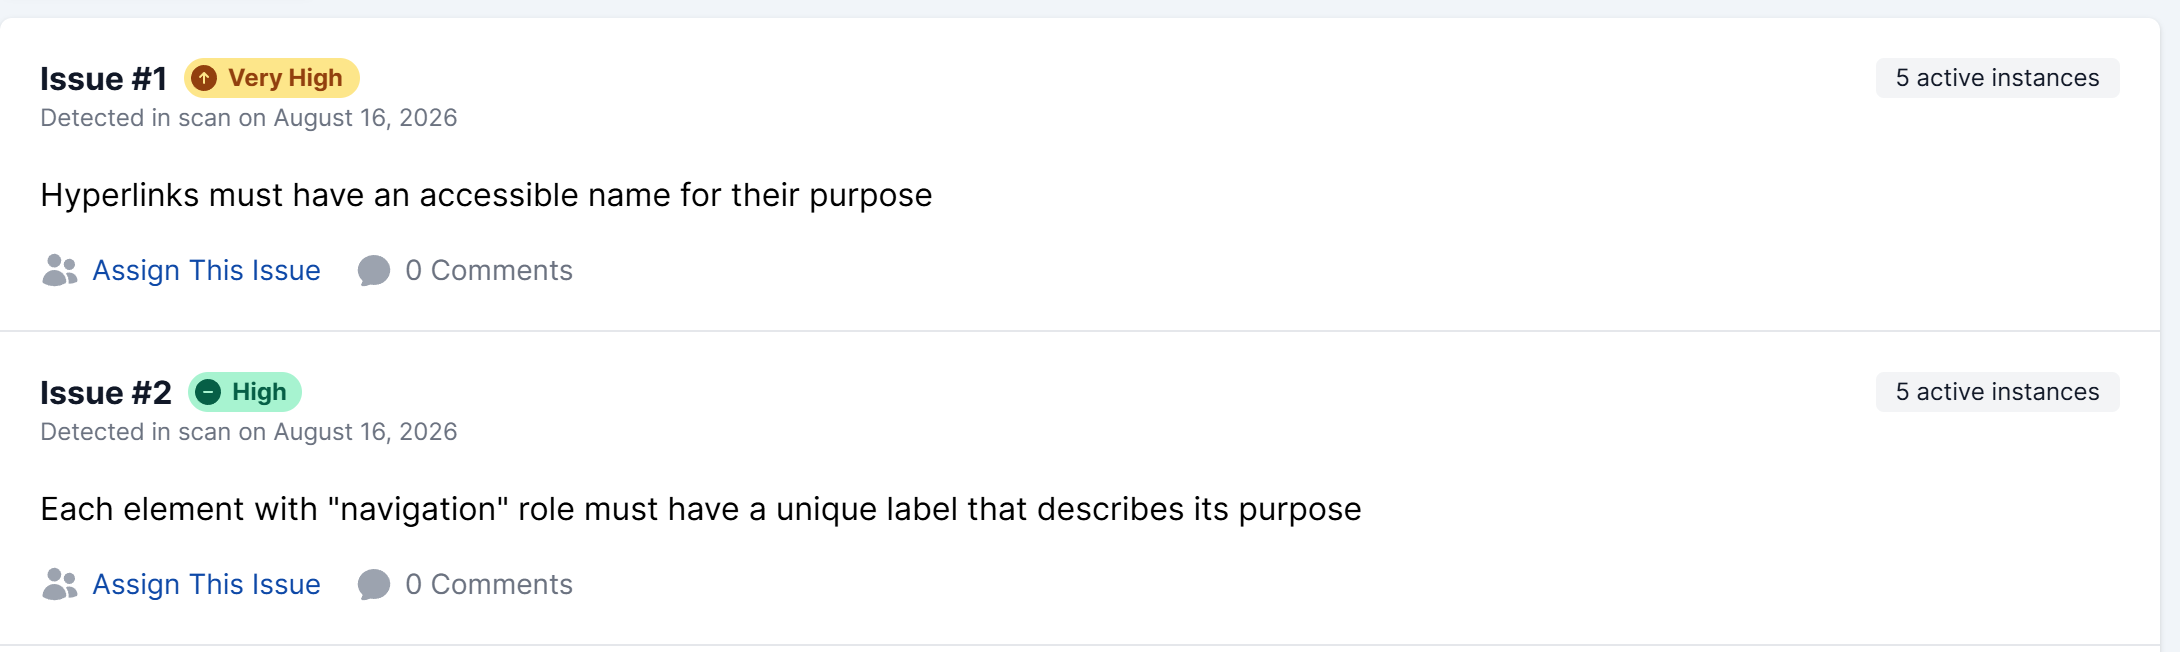
Developers and Accessibility Testers review automated results and apply code, content, or design fixes.
Some scan results need a human check. When the scan isn’t certain something is a real problem, it lists it on the Needs confirmation screen. An Accessibility Tester, Project Manager, Administrator, or Owner reviews these carefully, then Confirms the ones that are real issues, or Dismisses them only when the team is sure they don’t apply.
Check out our guides on the issue levels and understanding them and on fixing and managing issues.
3. Manual Audit
After automated issues are addressed, conduct a manual audit. This uncovers context-specific issues automated scans miss.
This part is crucial since Accessibility Testers use assistive tech, such as screen readers and keyboard navigation, to simulate real experiences. Issues are logged in AAArdvark to build a full picture of accessibility barriers.
A few issues that are generally tested for in this process are:
- Logical tab orders
- Meaningful focus indicators
- Proper use of ARIA
- Content comprehension
- And whether or not the interactive components behave in a way that is consistent and accessible for site visitors.
Check out our guide for an in-depth view of the Manual Testing workflow.
4. Fix Manual Issues
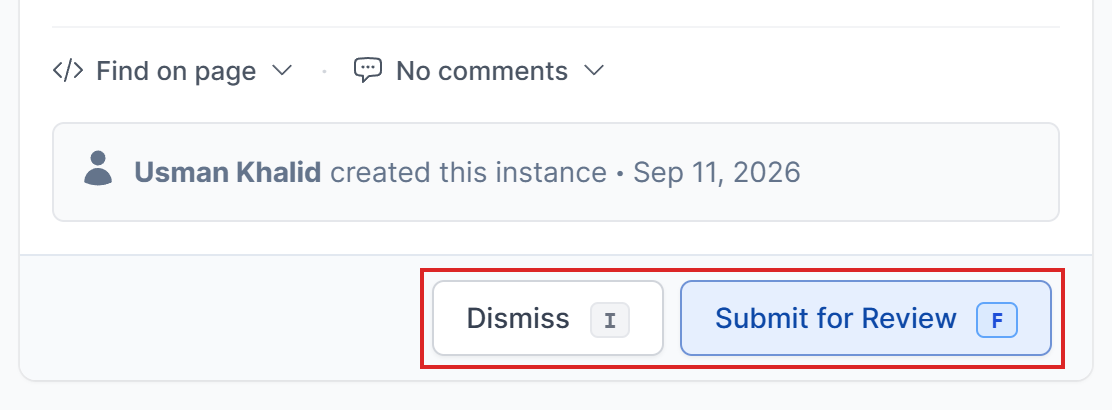
Developers review and fix issues logged by Testers. Fixes often involve adding semantic HTML, adjusting ARIA roles, improving color contrast, or editing content. Once a fix is in place, the Developer clicks Submit for Review on the instance.
5. Review and Verify Fixes for the Website
How a fix gets verified depends on where the issue came from:
- Automated issues: When a Developer clicks Mark as Fixed, the instance moves to Awaiting scan. The next scan checks the page and marks it Fixed if the issue is gone, or returns it to Active if it’s still there. You can rescan single pages with Scan a Page on the Pages screen, or wait for a complete site scan.
- Manual issues: No scan can check these, so a person does. After a Developer clicks Submit for Review, the instance moves to Awaiting reviewer. An Accessibility Tester, Administrator, or Owner checks the change and clicks Resolve Instance to mark it Fixed.
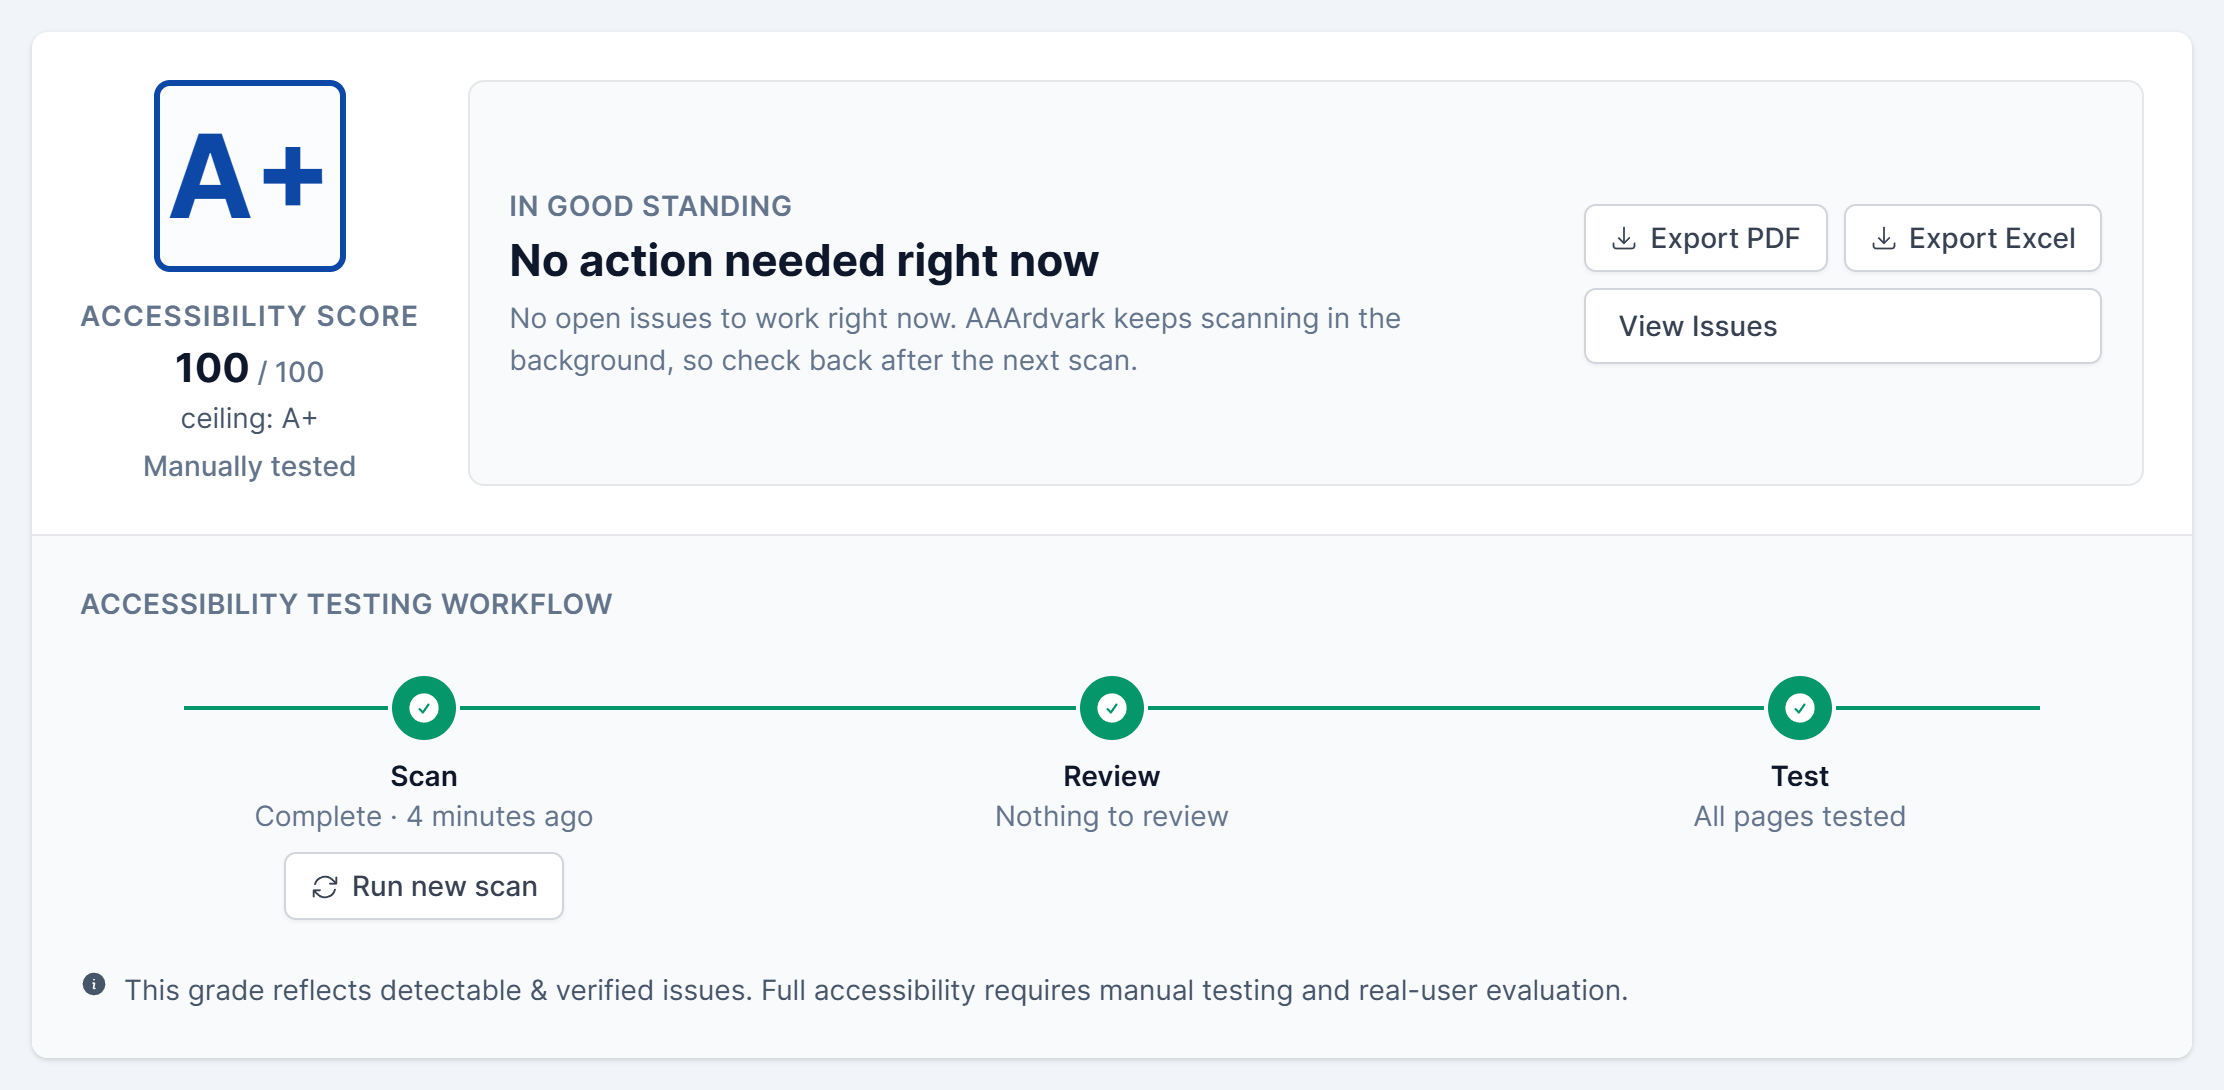
The goal: fix all accessibility issues on the tested pages.
6. Ongoing Monitoring
Accessibility isn’t a one-time task. Sites that add new content or features need ongoing checks.
Run automated scans regularly and spot-check pages with manual testing. Combined, these approaches keep your site compliant and inclusive.
Related Guides
-

Understanding the Accessibility Testing Workflow
-
Developer Workflow
-
Project Manager Workflow
-
Automated Testing Workflow