

Getting Started
Introduction
Welcome to AAArdvark, your all-in-one platform for testing, reporting, and monitoring accessibility. It’s built for teams that want to easily and effectively manage accessibility audits and remediation across multiple sites.
After you sign up for a new AAArdvark account (registration takes just a minute), you’re ready to get started.
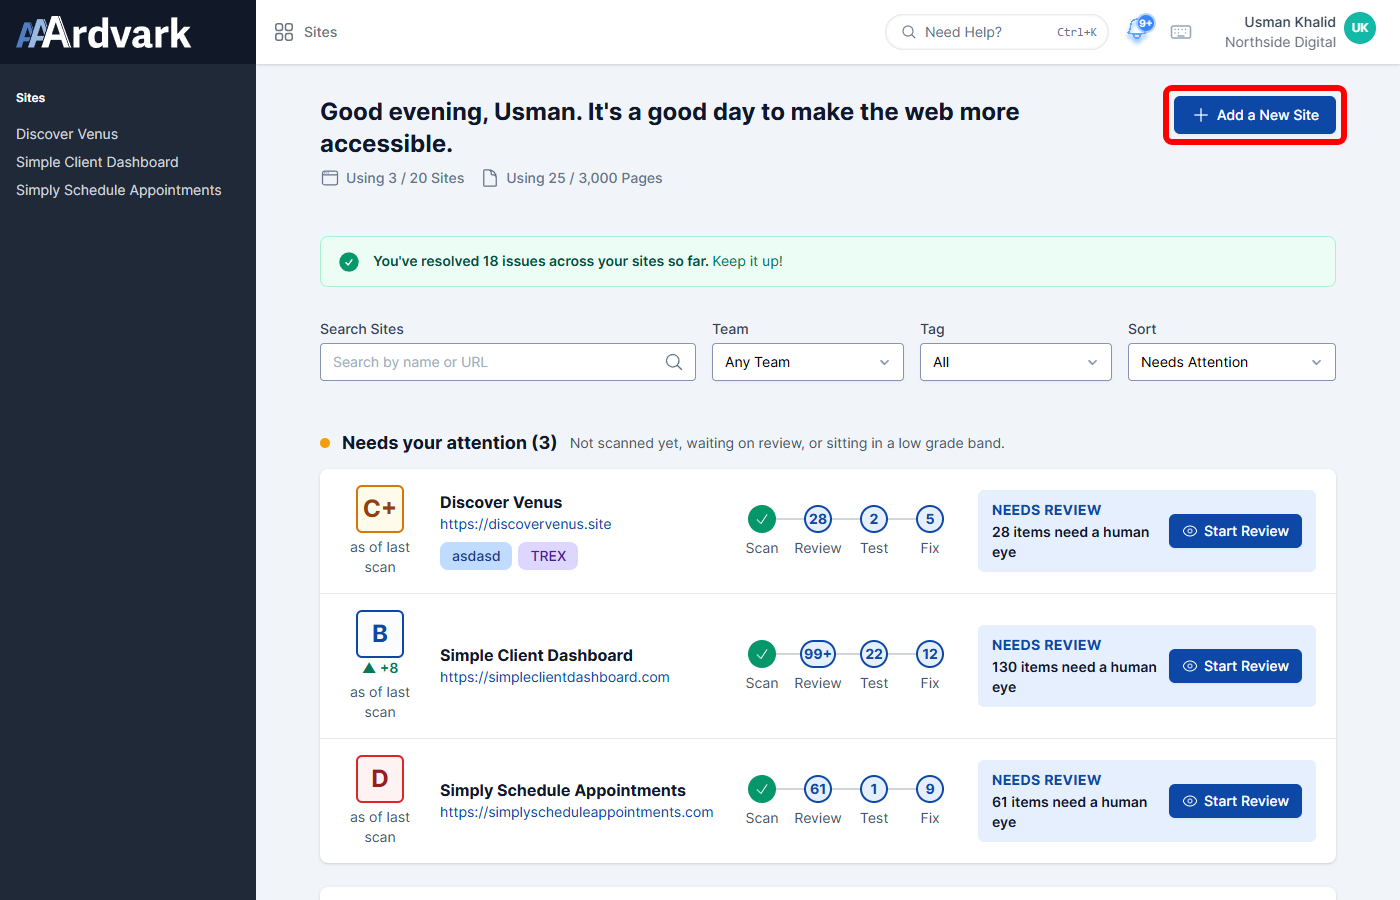
Once you log in, the Workspace Dashboard is your home base. It lists every site in your workspace as a row, each showing its Accessibility Score and the single next step to take, with sites that need attention sorted to the top. As you explore, a short product tour highlights the key screens – it’s tailored to your role, so it won’t point you toward something you don’t have permission to do.
Getting Started with AAArdvark
Before you begin an automated scan or a manual audit, you’ll need to complete the following steps.
1. Adding a Site
From your dashboard, click the Add a New Site button at the top of the page. Follow along with our guide on Adding a Site to finish this step.
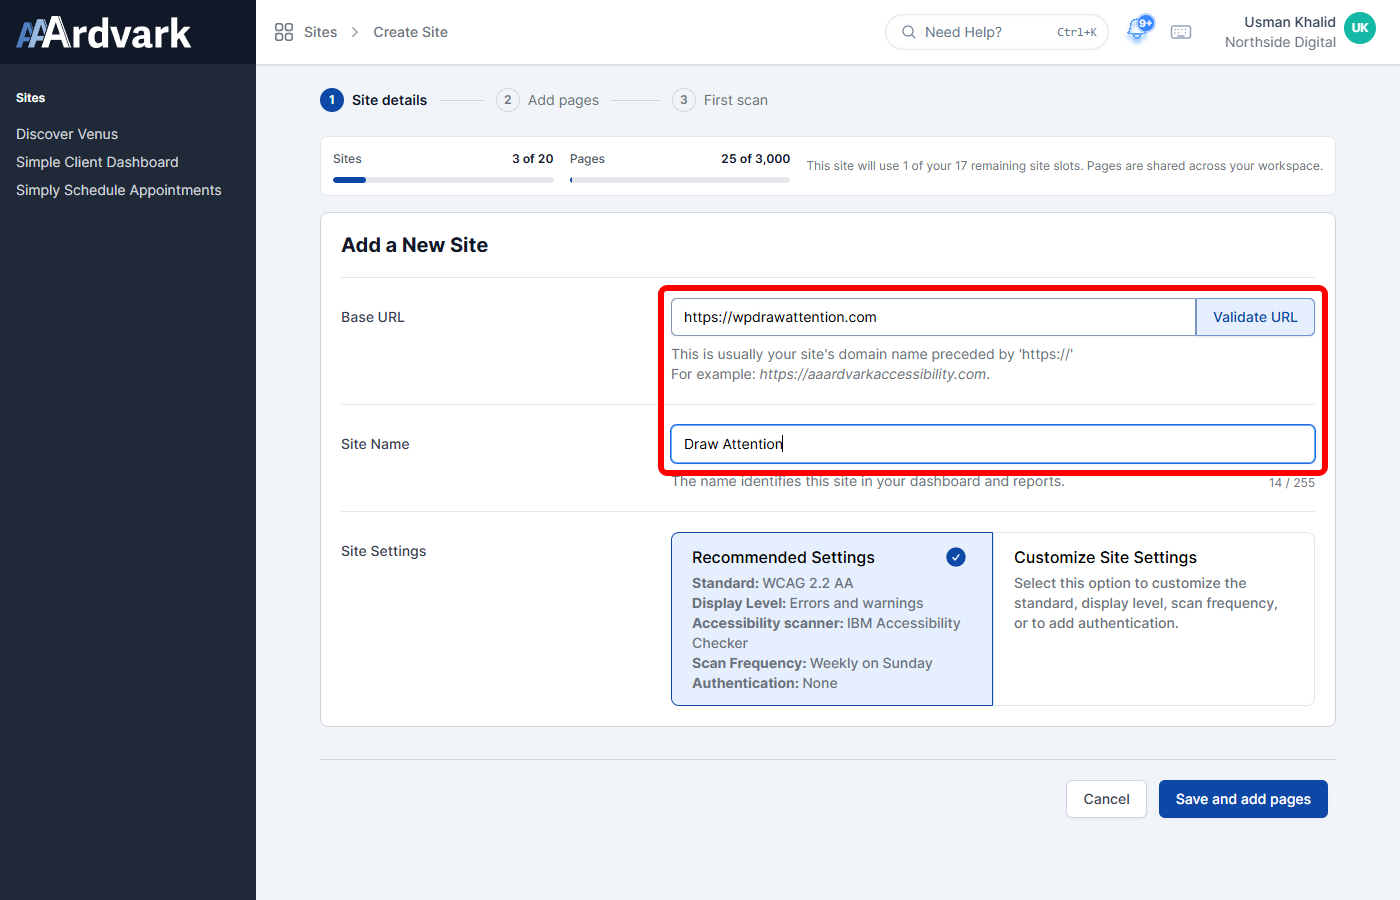
If your workspace is on a paid plan with room for more than one page, adding a site walks you through a 3-step guided setup instead of a single form: Site details, Add pages, and First scan.
The browser-extension prompt and the “Upgrade to add more pages” call to action are held back until this first site has completed its first scan, so you can get straight to scanning before AAArdvark starts asking for anything else.
Adding Pages to a Site
Thinking about adding more pages, and you’re on the homepage plan? You can easily upgrade your Workspace plan to include more pages or sites if needed.
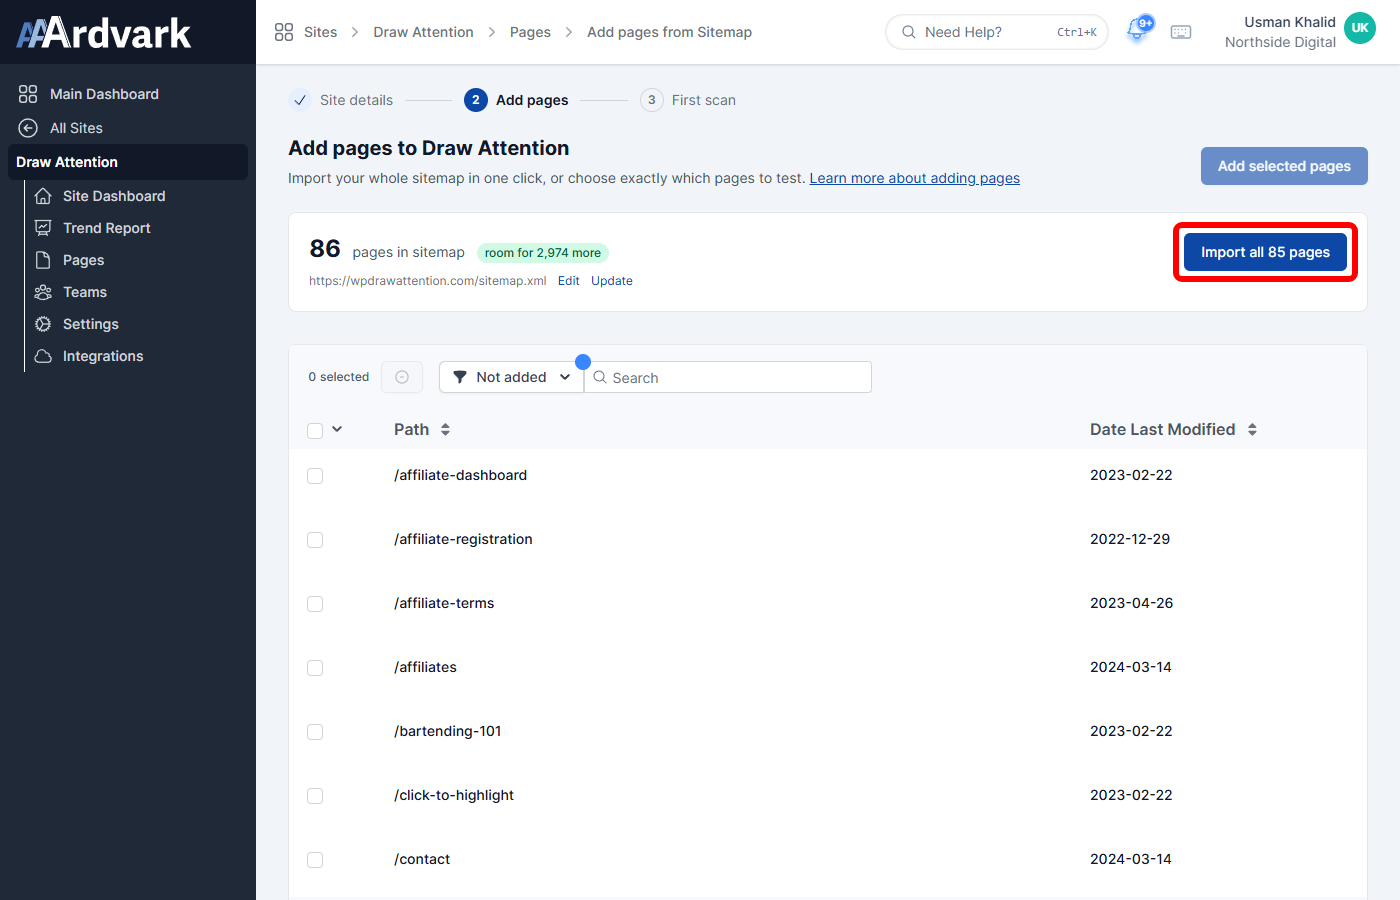
Next, you’ll have the option to begin adding pages. We offer a few different options to get this done, either by using a sitemap or manually adding them using the page path. Check out our guide on Adding Pages for the full details on this step.
2. Running an Automated Scan
Up next you’ll need to run an Automated Scan from the Site Dashboard. With an automated scan, AAArdvark analyzes your pages to detect digitally recognizable accessibility issues.
You can scan a whole site, a subset of pages, or a single page at a time.
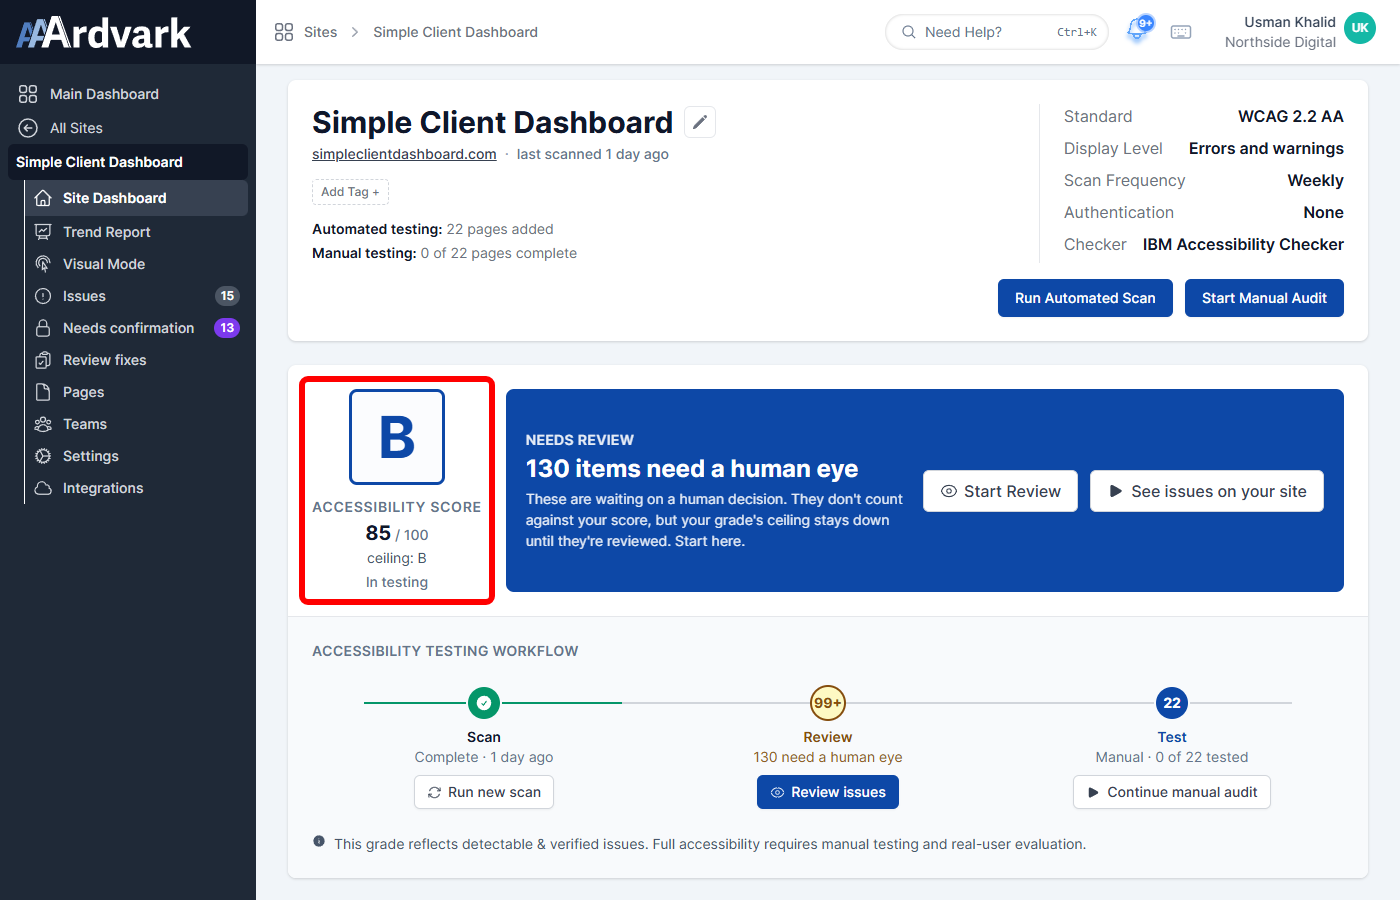
Once the scan is complete, your site’s Accessibility Score appears on the Site Dashboard – a 0-100 number and letter grade that sums up where the site stands, with a note on what’s holding your grade back. You’ll also see the results listed there, and you can navigate to the Pages tab to see a breakdown of issues for each page. Or, you can go to the Issues tab to see a complete list of all of them too.
Our WordPress plugin is also a great way to view the latest reports and scan details.
Pro Tip: Combine automated scans with manual testing for the most thorough accessibility evaluation. If you need help with manual testing, you can hire an accessibility expert.
3. Begin a Manual Audit in Visual Mode
Manual audits can take time, Visual Mode is designed to simplify the process of identifying and recording accessibility issues. Take a moment to familiarize yourself with this feature so you can confidently jump right in when you’re ready.
Creating a Site Connection
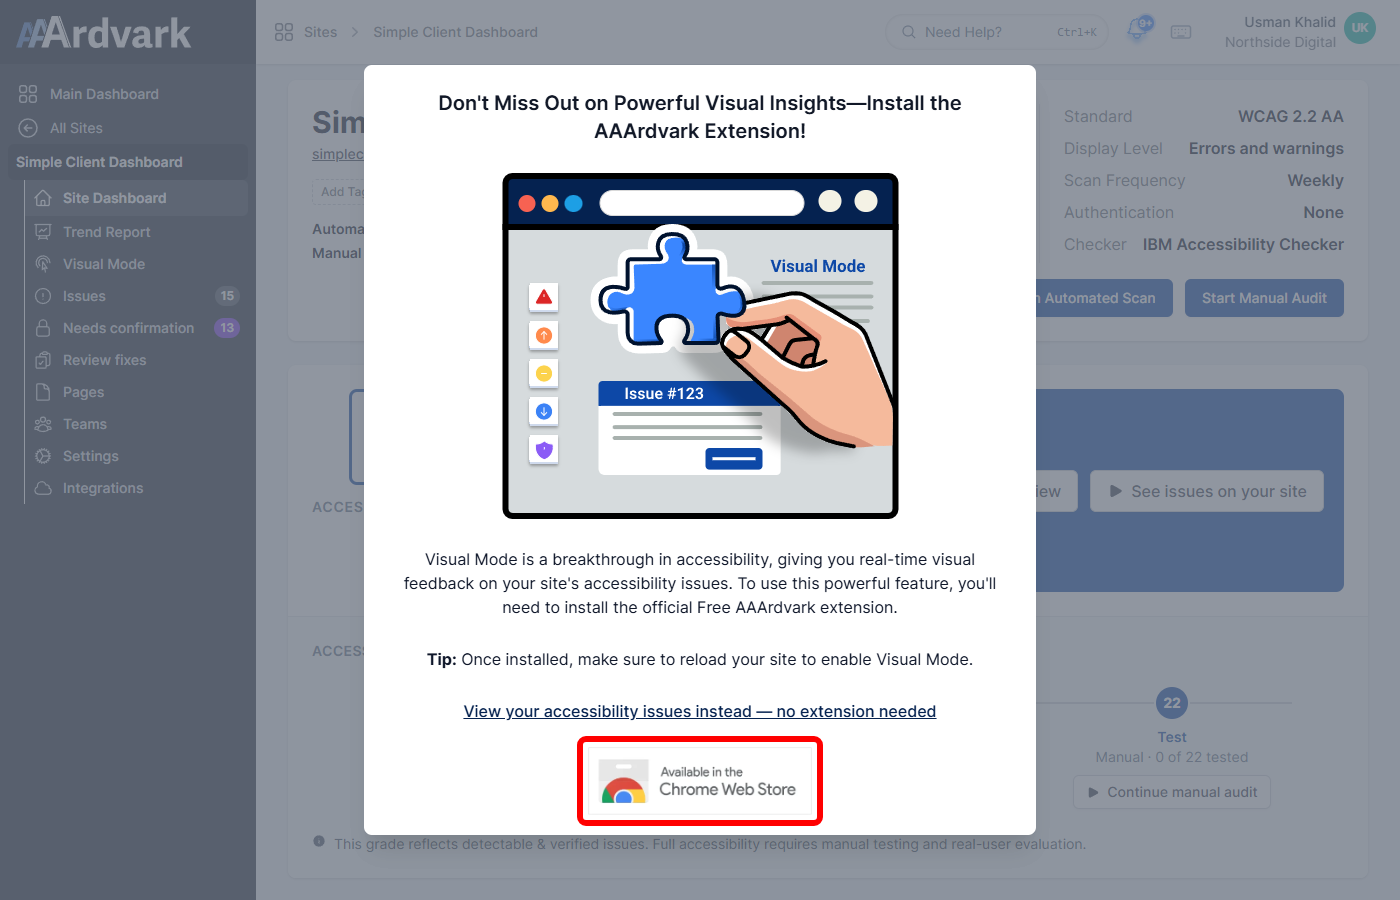
Before checking out the Visual Mode feature, you must make sure to set up the official AAArdvark Chrome Extension, Microsoft Edge Add-on, or Firefox Extension. This enables AAArdvark to connect to your site in order to use Visual Mode and manually record issues.
Record an Issue
After successfully setting up the connection, you’re ready to record your first manual issue!

4. Inviting Users & Creating Teams
With AAArdvark, your Workspace can host unlimited Users for seamless collaboration on accessibility projects.
Adding Users
Add Users to your Workspace and make sure to assign a Role that best reflects their responsibility in the project.
Create Teams
After adding Users to your Workspace, create a Team and assign your Sites and Users to it. A Team ties Users to Sites – Any site that’s associated with a Team can only be seen by Users belonging to that team.
5. Assign & View Issues
Finally, stay on top of your accessibility issues by using the Issues tab in your Site Dashboard. Issues map directly to WCAG Success Criteria or widely accepted best practices, and they can come with multiple instances across pages.
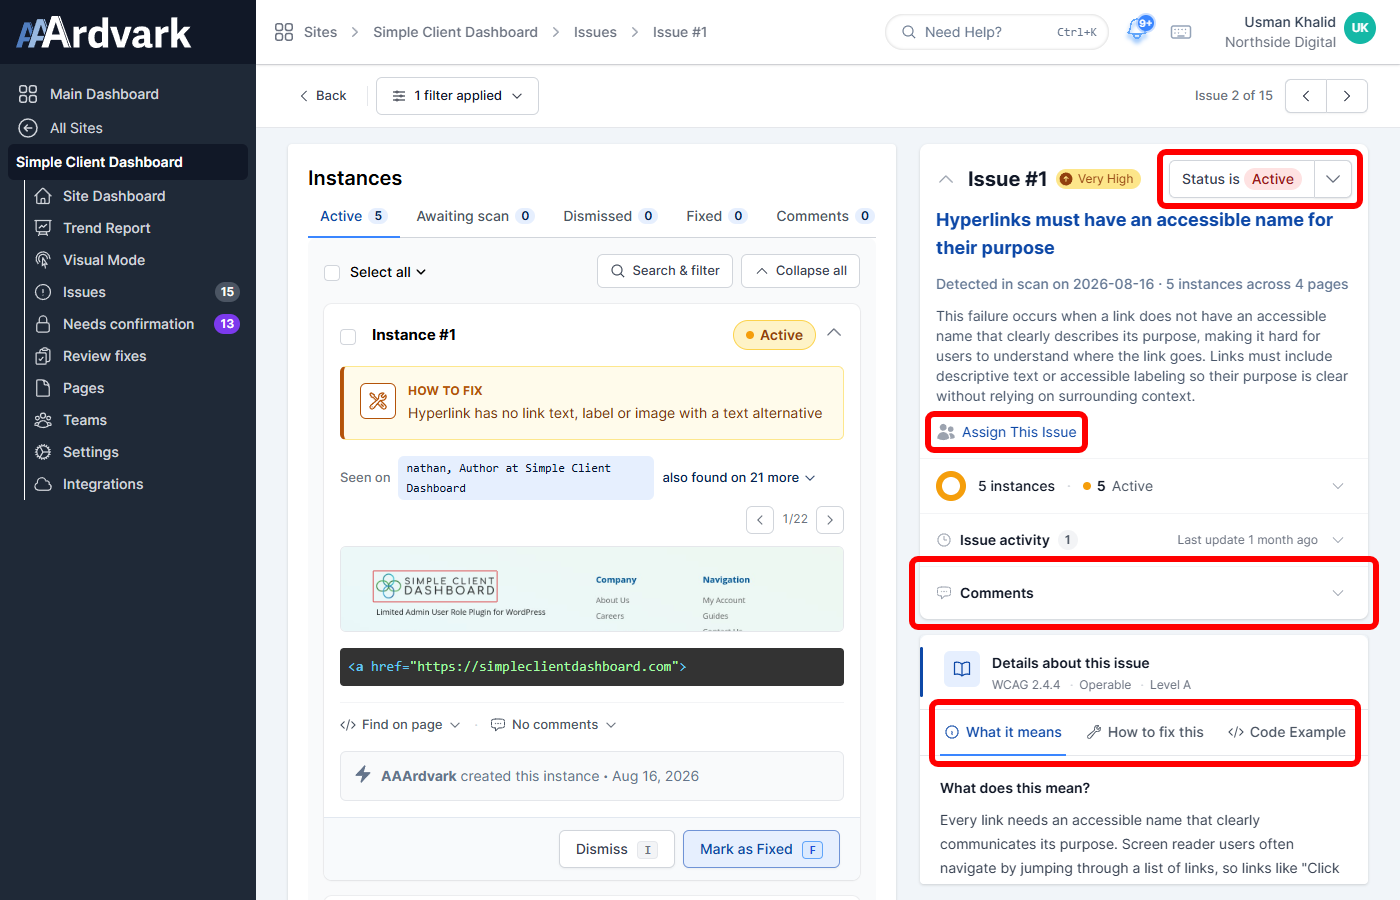
The Issue Detail Page lets you assign issues to Users, view WCAG resources, leave comments, and manage the status.
And, of course, easily switch to Visual Mode to see exactly where the Issue lies on the page as a reference.
Learn about Accessibility Issue Management.
Generating Reports
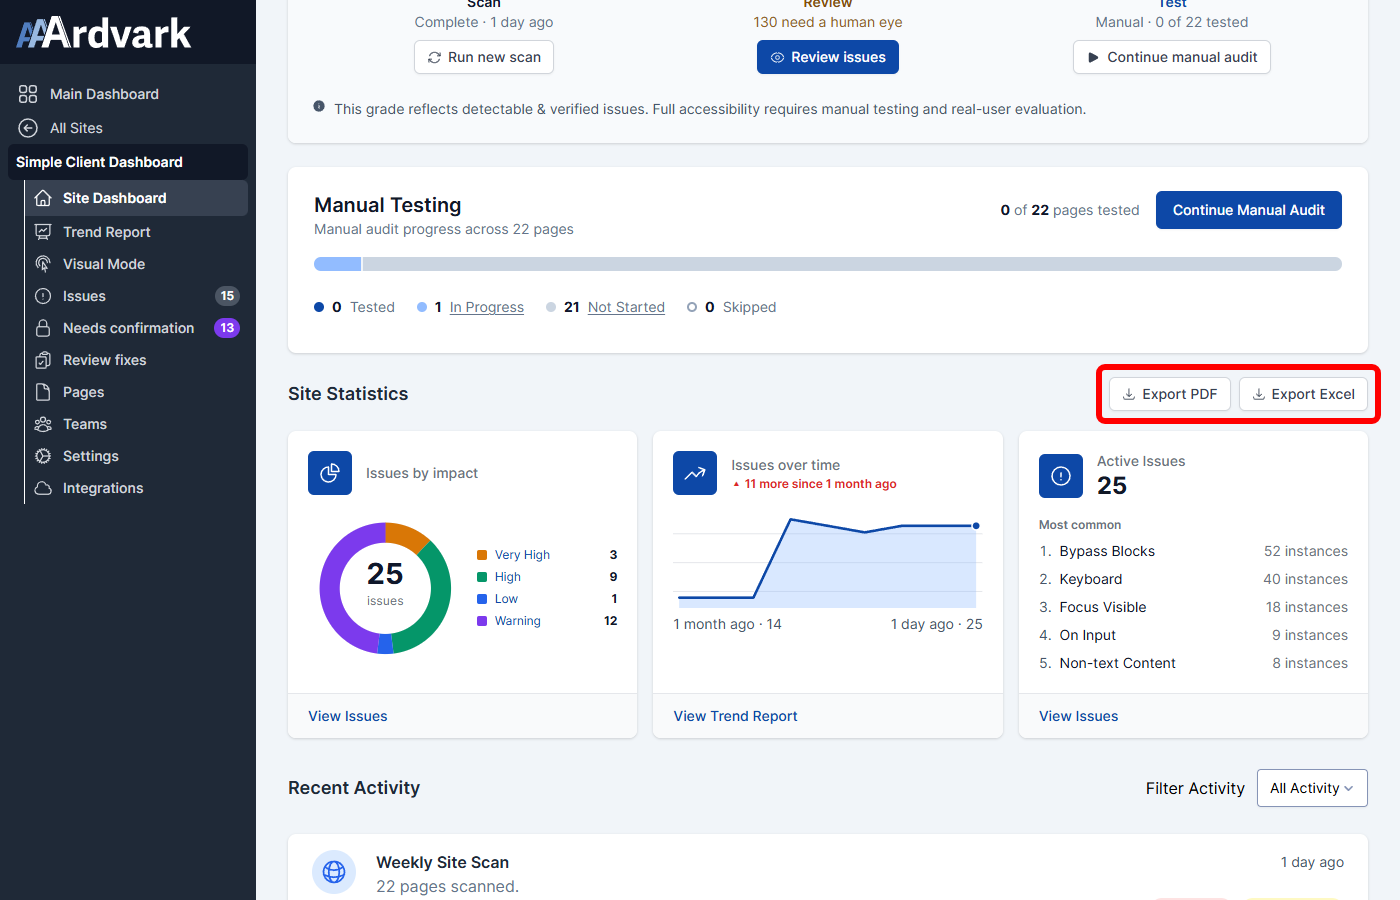
AAArdvark’s reporting feature makes it easy to review and share accessibility scan details for your site. Reports are available as PDF or xlsx (spreadsheet) files, providing summaries of scan results, issues, and WCAG compliance.
Managing Multiple Sites?
AAArdvark makes it easy to manage and work on multiple website accessibility projects. However, each Workspace is limited by the pages and sites allowed by the plan. Your workspace administrator can upgrade your plan from the Plan & Billing menu if needed.
Setting up multiple sites can be helpful even if you only manage one website. For example, you can create a separate site for your staging environment to test updates before they go live.
You can view all of our pricing plans and details here.